A design wall is very helpful for laying out quilting blocks comfortably and easily allowing the quilter to step back and evaluate the layout and quickly make adjustments. When a fabric like flannel is used the quilt blocks will cling to the wall without the need for pins. Using half inch insulation boards allows pins to be used if there is a breeze from an open window that might cause the blocks to fall off. The flannel works well and nothing has fallen off in the couple of weeks since I put some blocks on the wall.
For a couple years I have been “pinning” sewing room ideas on Pinterest. I read about lots of different ways of creating a design wall, but ended up deciding to go with one of the simplest I could find for attaching it to the wall, with some changes.
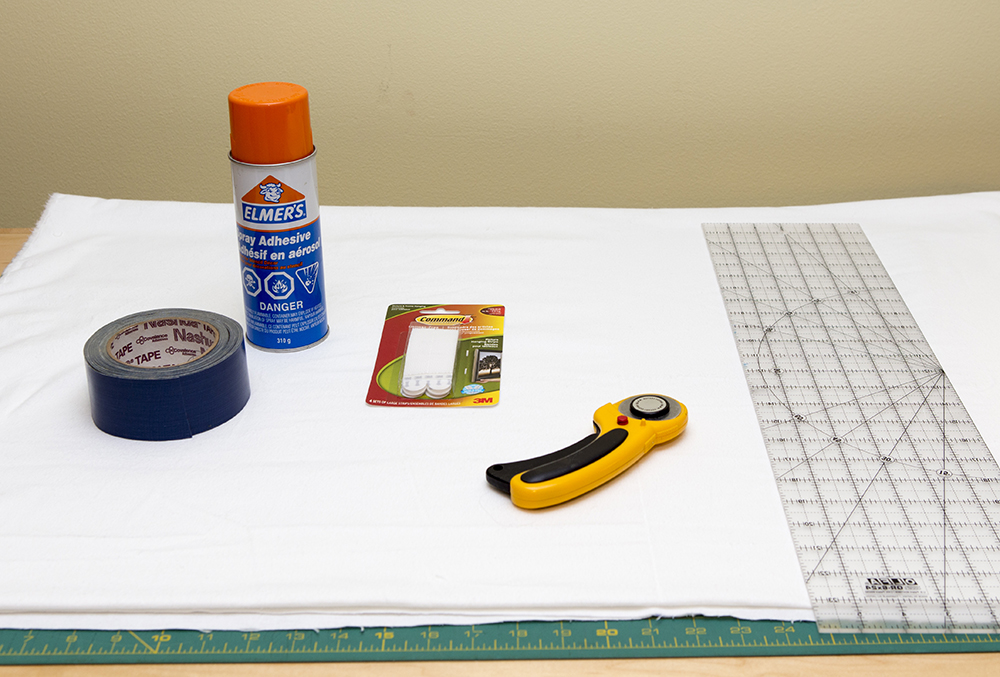
I started with the following:
– three 2×8 foot sheets of 1/2 inch blue foam insulation
– nine yards of white flannel
– spray adhesive
– duct tape
– 3M Command Strips
I bought the insulation panels a while ago and don’t recall exactly what they cost, but I think all of the items listed above cost less than $100.
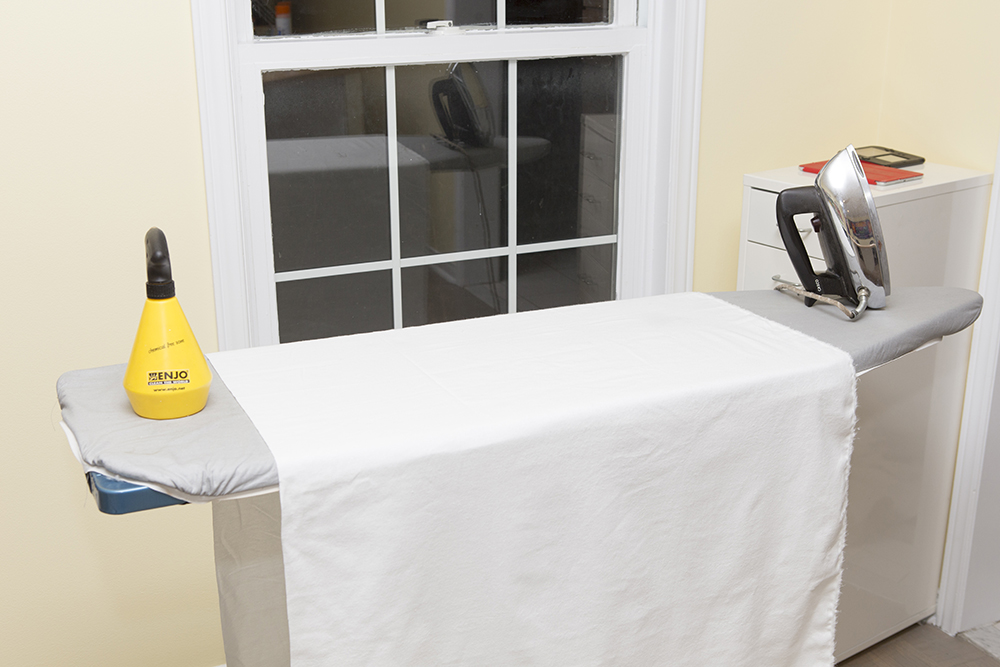
I started by cutting the flannel large enough to cover the front of the insulation board and wrap around the back about three inches. Then I ironed the flannel well. The iron is the only iron I have ever owned. It belonged to my grandmother and is nice and heavy. I think it is over 50 years old. I doubt an iron purchased today would last that long.
I sprayed the adhesive on the first foot at the top of the board. Michael held the fabric up, while I positioned it and stuck it down. Once I was happy with the placement I sprayed the rest of the board and carefully smoothed the fabric down.
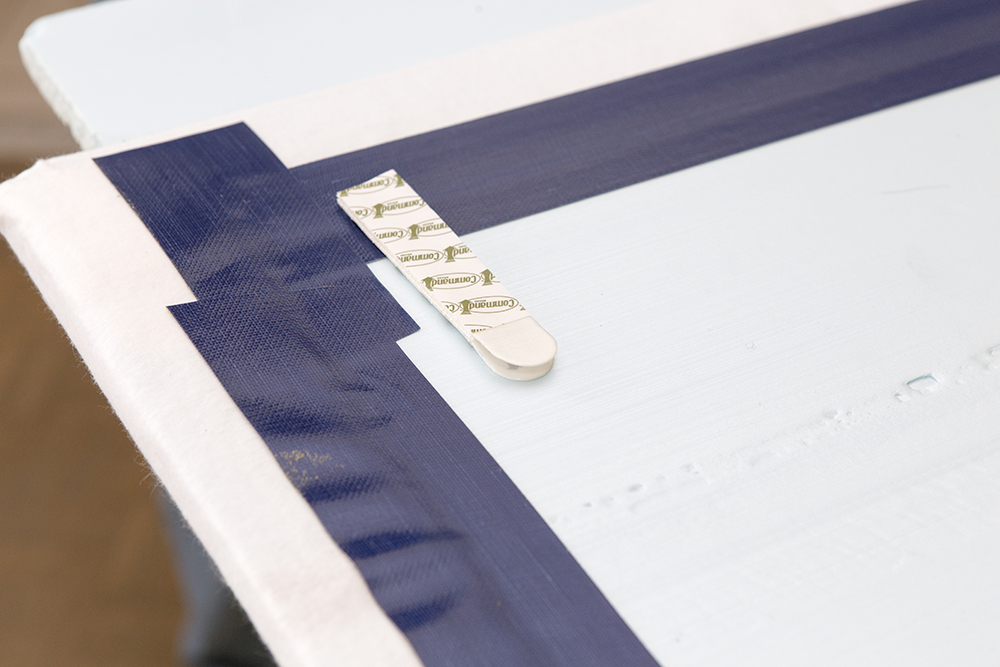
I then flipped the board over and duct taped the fabric to the back. Then I placed the 3M Command Strips which are marketed as “damage-free hanging solutions…with firm holding power and clean removal”. I was skeptical, but weighed my insulation panels and fabric and came well under the weight claim made by the product. I have yet to try to remove one, however, they have lived up to their claim for holding power so far. After a couple weeks they are still on the wall with just two medium size strips holding each panel of the design wall.
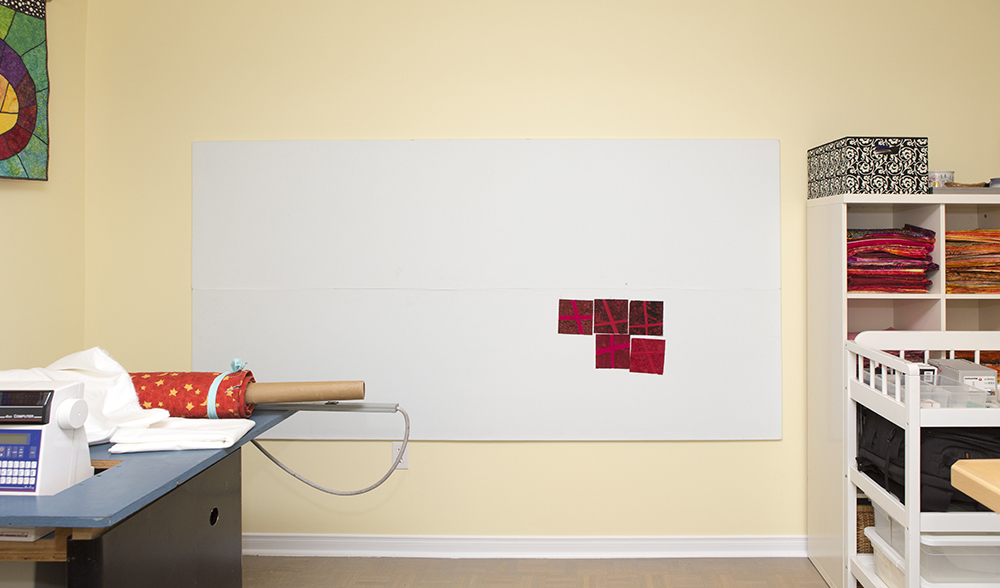
We followed the instructions and placed the panels on the wall, one a time, starting with the bottom one, just above the electrical outlet, so we didn’t have to cut around the outlet. Once the first one was levelled it was easy to proceed with the next.
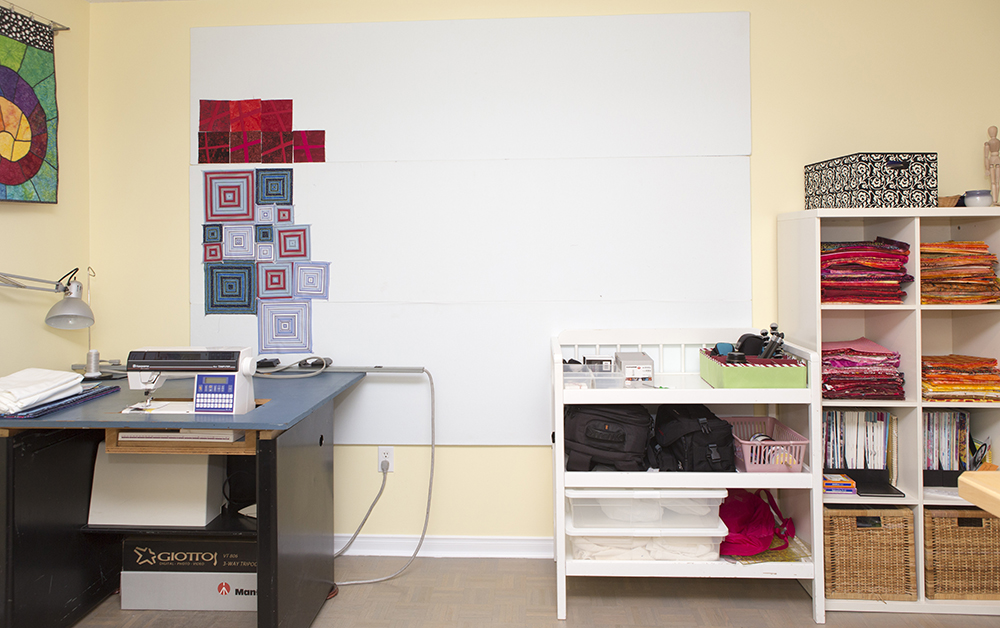
Here they are with all three on the wall for an 8×6 foot design wall.
The low shelf next to the cubbies is a diaper change table. I plan to cut off the legs, put an ironing board top on it and add castors, so it is easy to move away from the wall to access the design wall or over to the sewing machine when I am piecing.
I still have a number of things to do to get my sewing room exactly as I want it, however, the addition of the design wall has made me very happy.
Discover more from Lisa Stokes
Subscribe to get the latest posts sent to your email.
ooo, I have design wall envy! I’m ‘borrowing’ sewing space in our spare bedroom. DH won’t let me take it over as an official sewing room…battle lost – but the war is not over 😉
Maybe you could convince him to let you do one like mine. It is just six command strips to hold the whole thing to the wall. Depending on your wall colour they might not even show much if you took the panels down when you have company.
Love the design wall. I would not be without mine. Can’t wait to see those striped blocks done. I am also working on one which I should get finished!!!!
Lisa, is that sewing machine mounted in the old steel desk I gave you some years ago? Dad.
Yes. Michael replace the top years ago with a larger plywood top. When he stopped using it as a computer desk he cut a hole in it for my sewing machine.