Like Mother Like Daughter

My mom was a Home Economics teacher until I was born at which point she became a stay-at-home mom.  She sewed many of my clothes when I was growing up including my high school prom dress in 1984, which was probably the last item of clothing that she sewed for me.  I still have the dress and fit into it.  I will never wear it again, but still feel the need to keep it.

scan edit blog

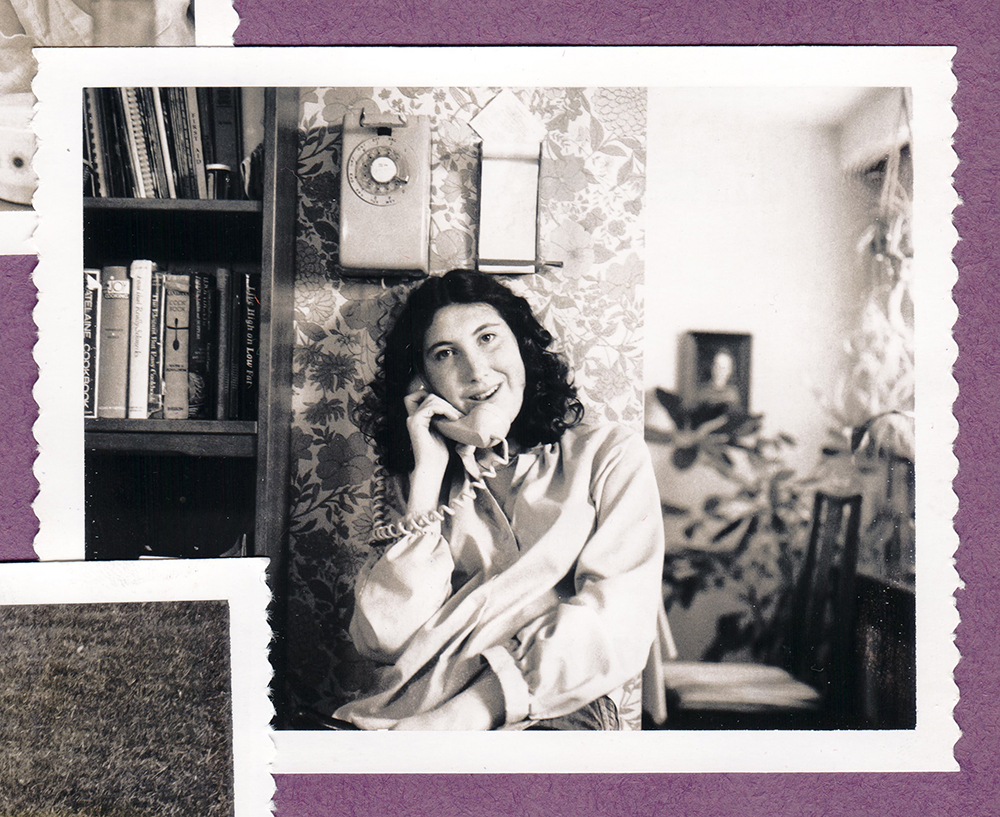
When I was looking for the picture with the prom dress I found this one from 1982 with me wearing a homemade blouse.  Check out the phone!  Check out the wallpaper!  My parents moved house five years after this picture was taken and took the phone with them.  It’s still in use in Dad’s kitchen today.

scan0001 edit blog

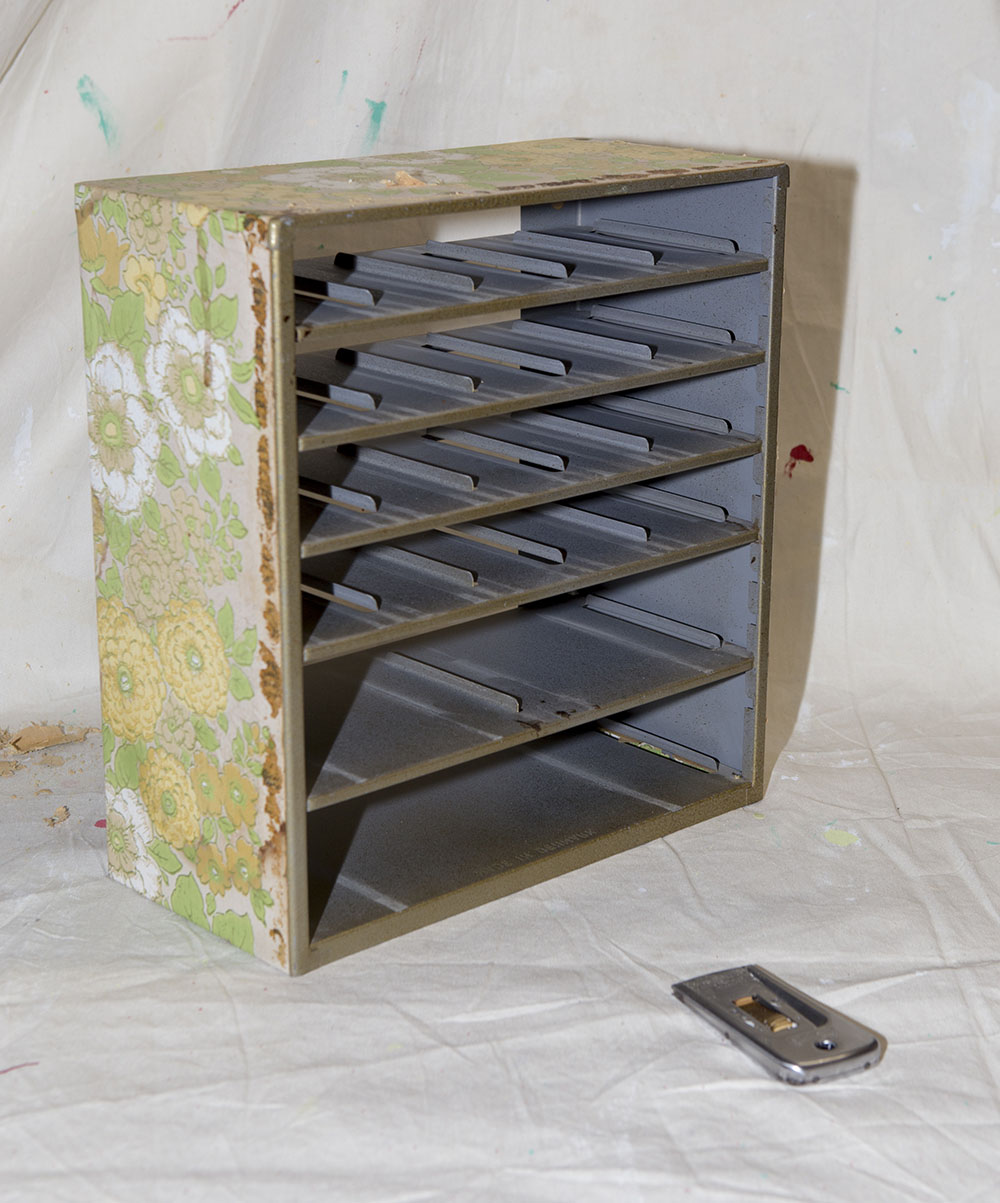
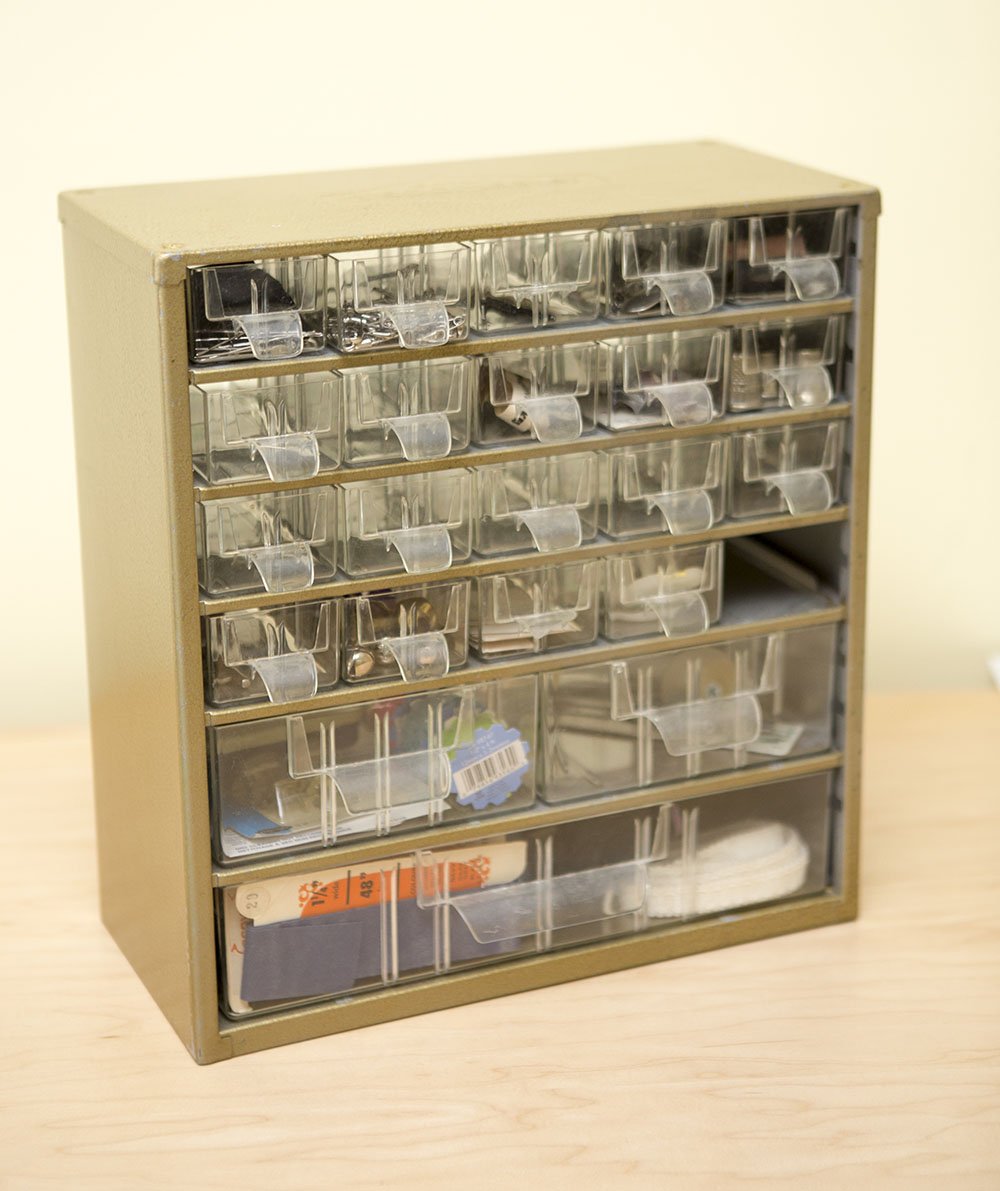
One of the bedrooms in our house was Mom’s sewing room/guest room.  I have always had a sewing room/guest room as well.  Recently my dad brought me the multi-drawer storage unit in which Mom kept all her sewing bits and bobs.  My mom was very fashionable and liked the house to be well coordinated, so she covered the storage unit with the wallpaper used in the sewing room so that it matched.  More great 70s wallpaper!

IMG_8534 edit

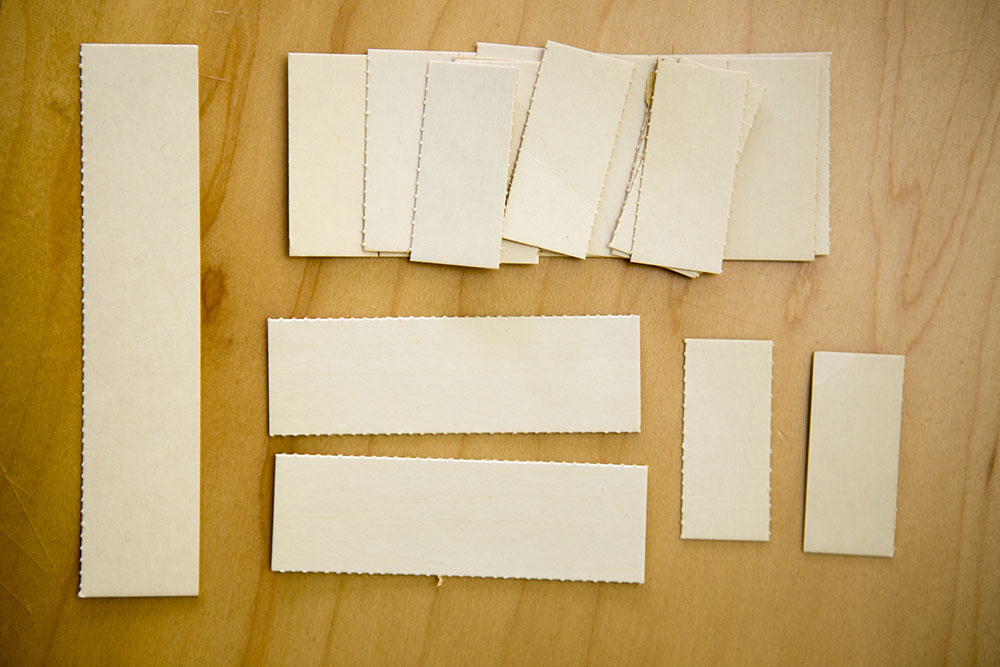
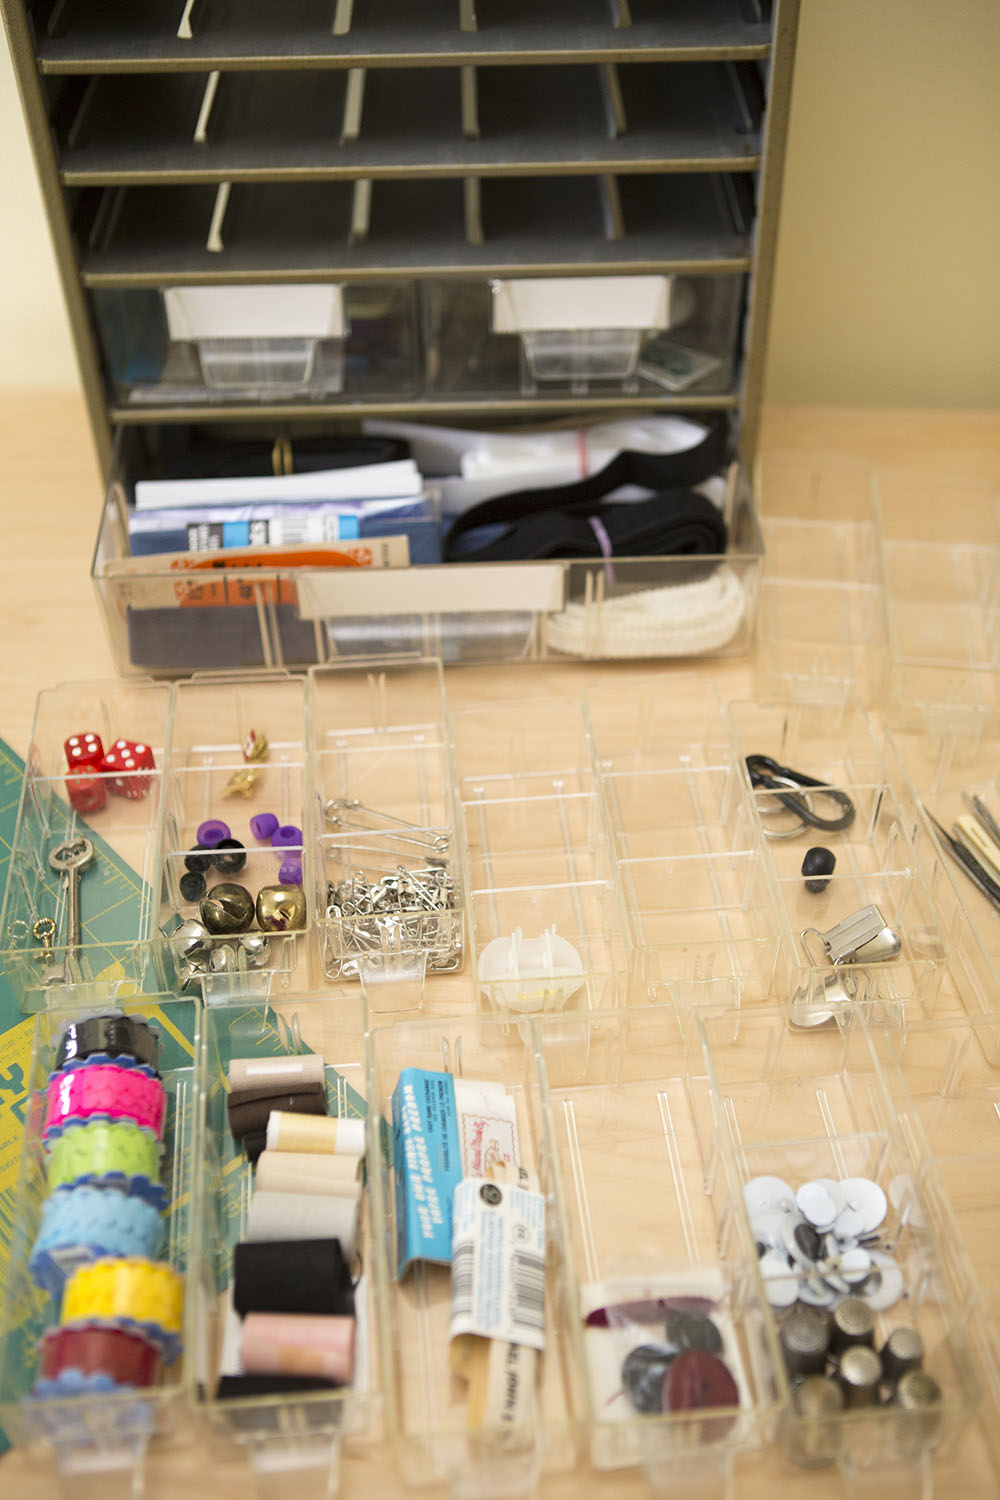
It still had all the drawers, which I sorted through, keeping some things and throwing out others.  It still has the labels which slot into the front of the drawers (and were never used) and little dividers to make three sections in the small drawers.  I was concerned that the unit would be rusty under the wallpaper because of the stain along the front edge.

IMG_8576 edit

Here I am part way through sorting my small sewing stuff which was previously stored in a bewildering array of boxes and drawers.

IMG_8574 edit

It only took about 20 minutes to strip and clean up the glue.  It is in great shape underneath with no rust.

IMG_8577 edit

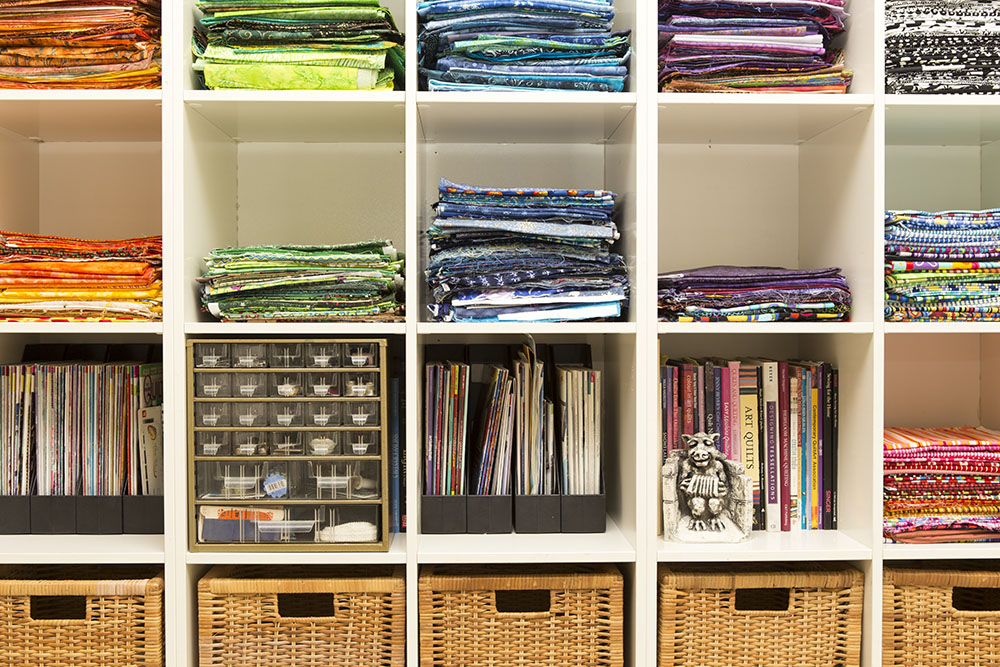
Best of all it fits perfectly in front of my Quilting Arts magazines in the cubbies in my new sewing room.

IMG_8581 edit

I was thinking of spray painting it to match the wall colour, but for now, I think it works well just as it is.  Finally, it is interesting to see that it is branded TECOMaster, which I have learned was the T. Eaton Company hardware house brand.  It was made in Denmark.  I am sure you wouldn’t find something like this today made anywhere other than in China.


Moving On to Room Two of Three

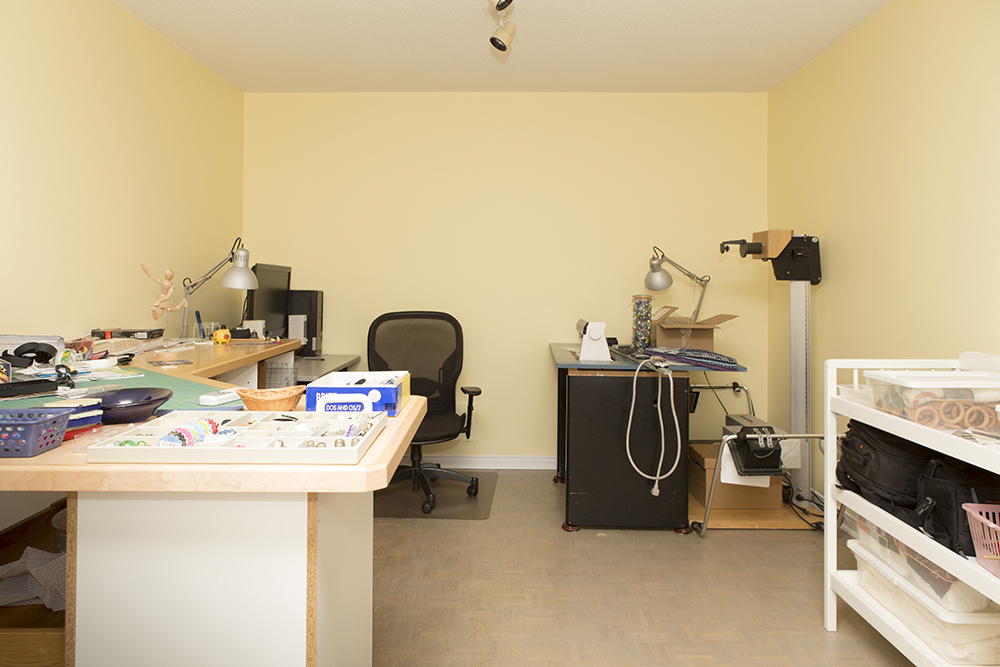
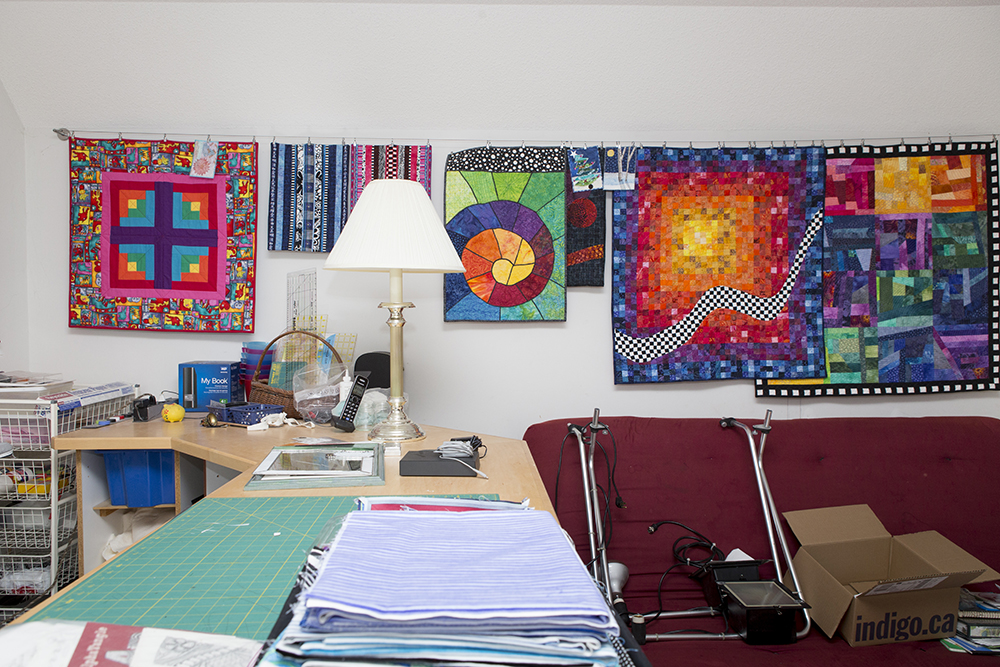
We are in the process of renovating three rooms in our home.  The children’s old playroom on the main floor has become my new sewing room.   I spent last week moving all the furniture and contents from the old sewing room, which will become Trystan’s bedroom, to the new sewing room.  I tried to organize it as I moved it and purge a few books, magazines and fabric that I no longer want.  I still have a lot of work to do.  I am going to make a top for the old diaper changing table to make an ironing table with storage underneath.  I want to purchase fabric to make skirts for the cutting table, ironing table and sewing table to hide that the pieces are mismatched and not very appealing underneath.  I also need to make and mount a design wall, mount my quilt hanging line and hang my quilts, make window coverings and figure out a more attractive way to store things on top of the cubbies.  However, all that is on hold until the new year.  In the meanwhile we are moving on to renovating the bedrooms for Trystan and Owen.

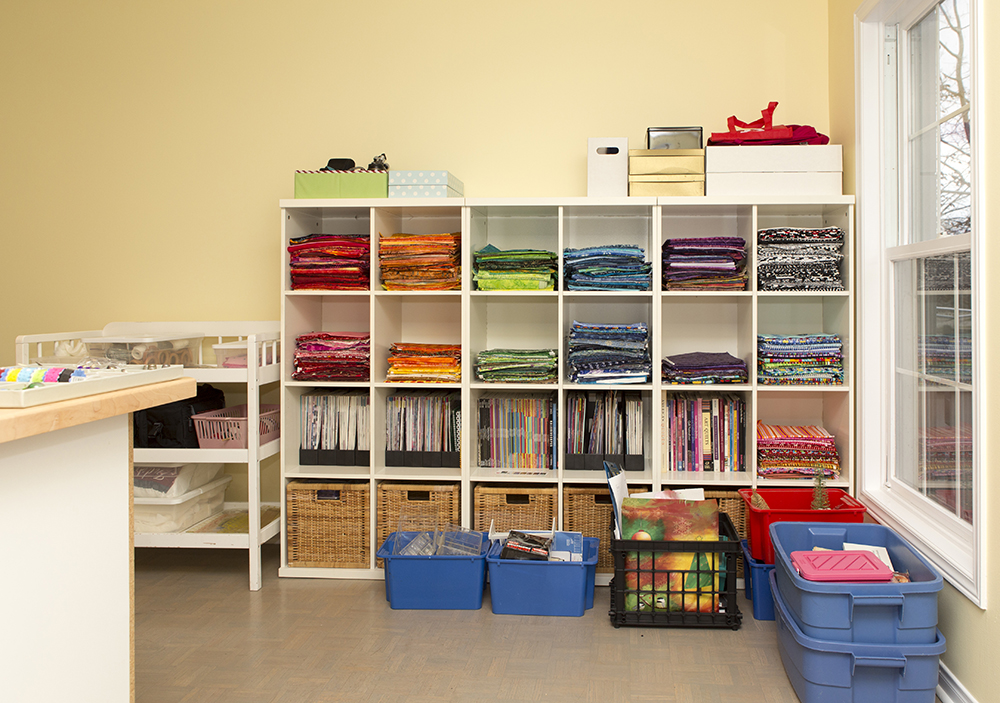
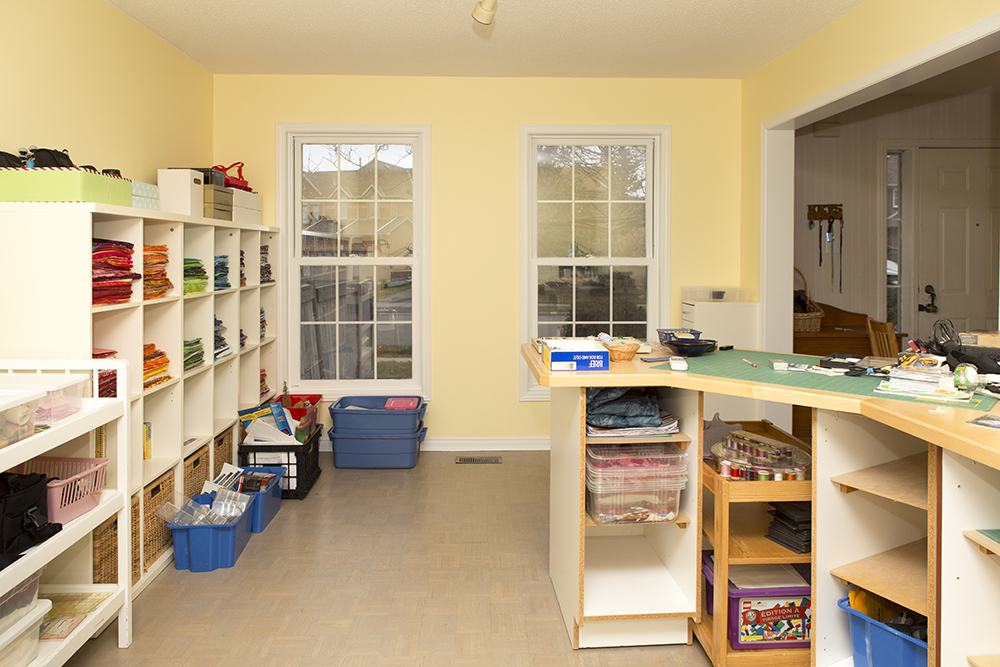
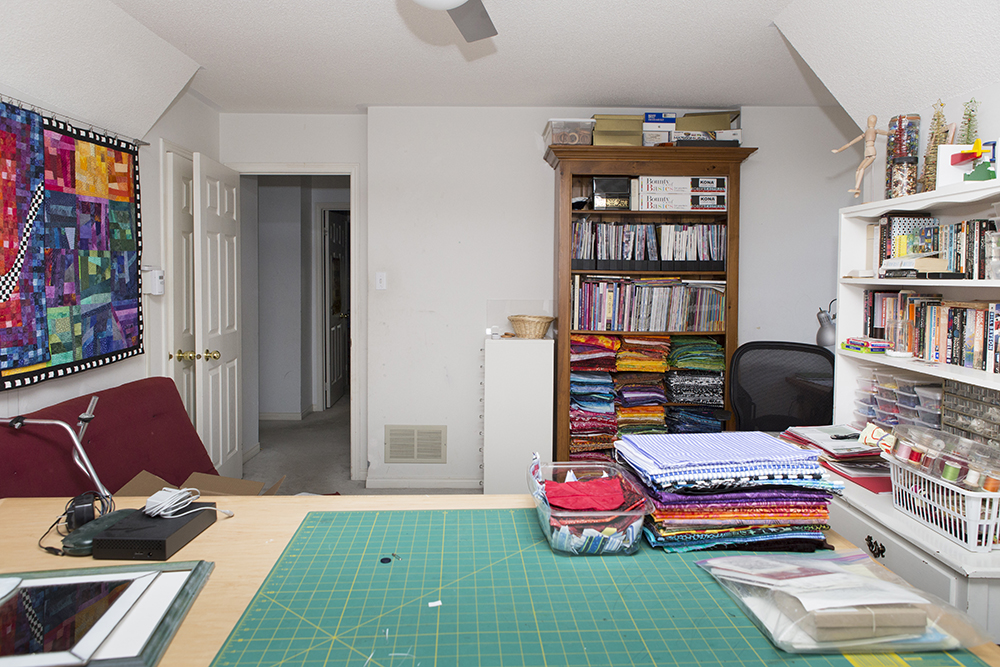
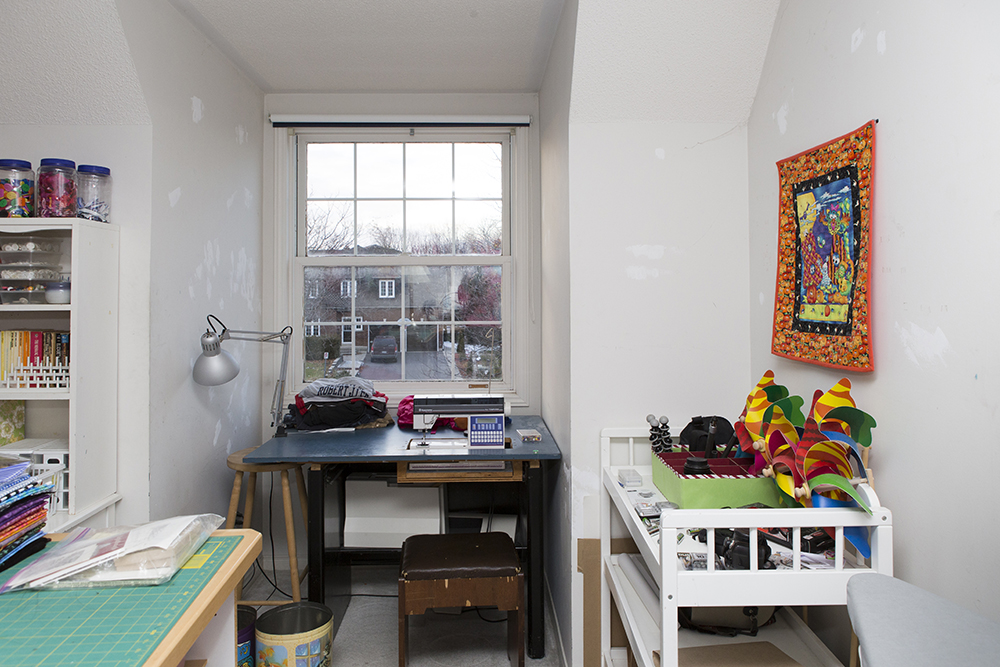
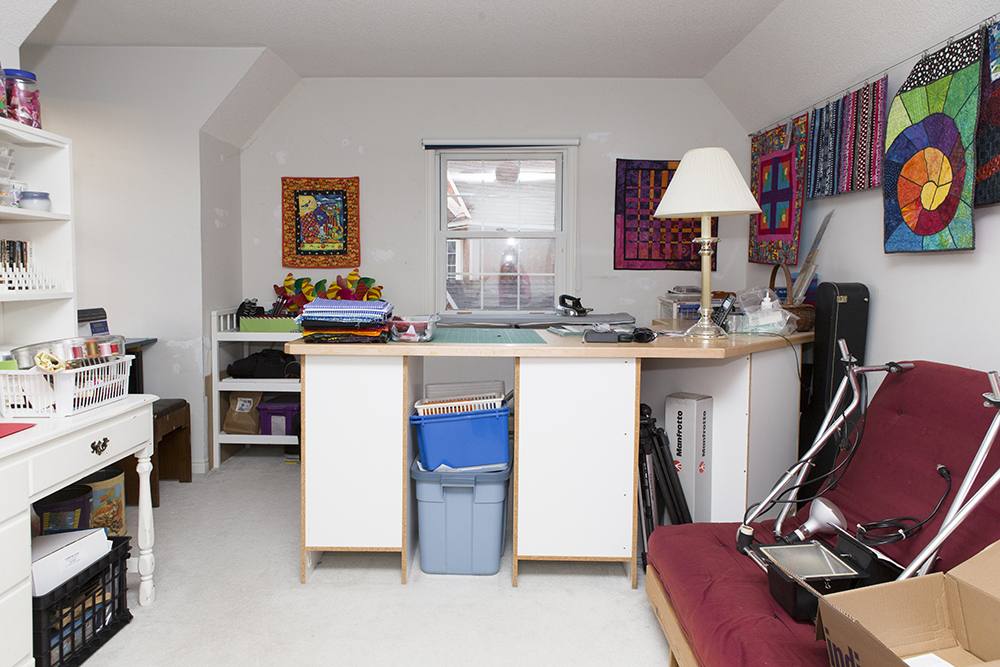
So here is a peek at what I have done so far in my new sewing room, but as noted above it is far from finished.

IMG_8545edit IMG_8544edit IMG_8543edit

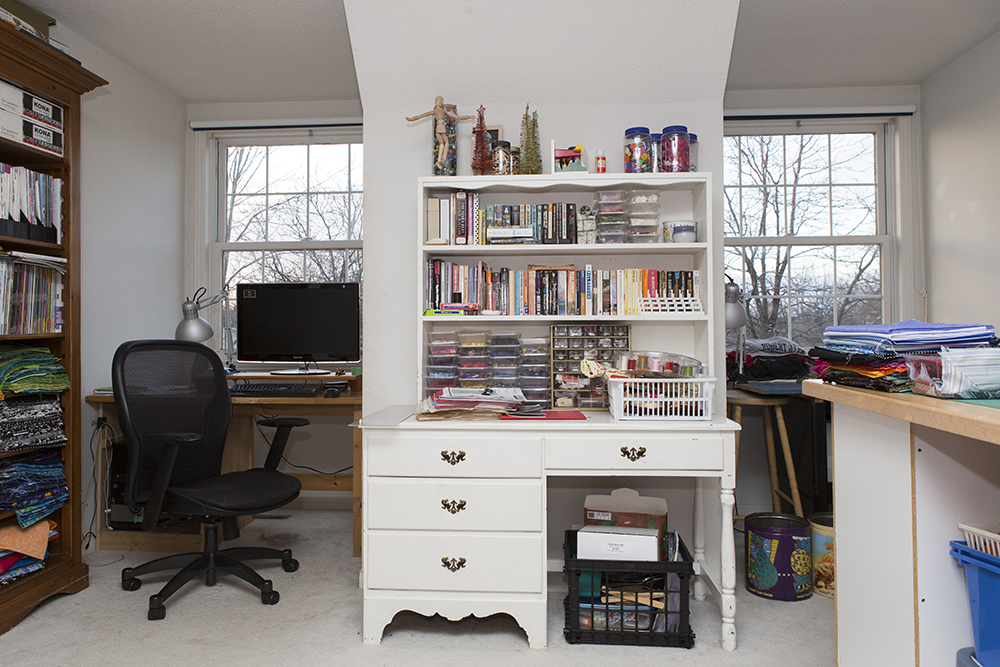
Here is what my old sewing room looked like.  I will be putting up the Ikea Diginet Curtain wire to hang my quilts in the new sewing room.  The futon will be going in the garbage once we purchase a new bed for Owen. The new bed will be used when we have guests while Owen temporarily goes into his old twin bed which will be in Trystan’s new room.  I HATE futons, but Michael loves them.  Ten years ago when our friends moved to Barrie, they decided to get rid of their futon.  Unfortunately for me, when Jennifer called to find out if we would like it, I was not home and Michael took the call.  He gladly accepted.  I started out this renovation by getting Michael’s agreement that the futon would go and a new bed would be purchased.

IMG_8487edit

The white desk and hutch was my desk when I was growing up.  It is staying in the room and will be Trystan’s desk.  The new sewing room has almost the same dimensions as the old, but doesn’t have the dormers, which neatly held the computer desk and sewing desk, which has made it challenging to get everything into the new sewing room.

IMG_8485edit IMG_8483edit

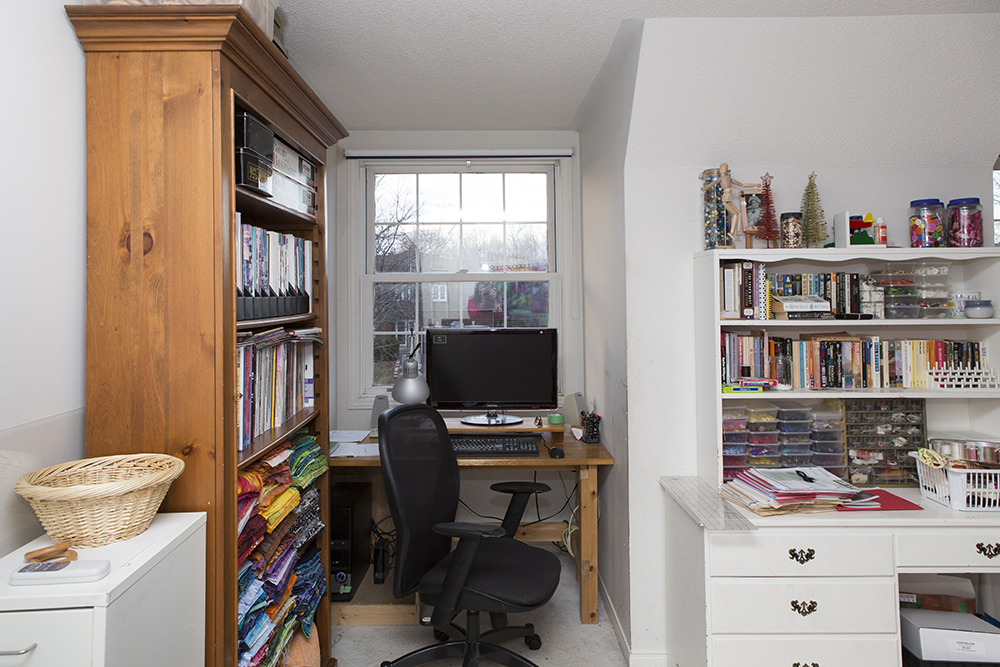
The brown bookshelf was going to stay in the room, but Trystan wants to have one bed in each dormer.  The only place in the room where the bookshelf can go is where it is in the picture since all the other walls have sloping ceilings, windows or are too narrow.

Michael keeps complaining that I am constantly adding to the project.  He’s not wrong, but some things just don’t become obvious until you are in the middle of things.  When I realized that the bookshelf couldn’t stay I had to figure out what to do.  For years we had two small bookcases  for children’s book on the landing at the top of the stairs.  Last spring we donated half of the books to the school library and liberated one of the bookcases for our room for Michael’s books.  We also have a bookcase in the family room in which we keep DVDs and videos.  That bookcase matches our bedroom furniture.  You can probably figure out where I am going with this.

I spent Thursday afternoon emptying bookcases.  The family room bookcase went to our bedroom.  The small bookcase is sitting temporarily outside Trystan and Owen’s room until Trystan’s new room is ready.  At that point both the empty one and the one with children’s books that you see in the picture below will go into his room.  The bookshelf from the sewing room has gone to the family room and actually looks quite good there holding our media.  Better than the one that was there before.

IMG_7979 blog

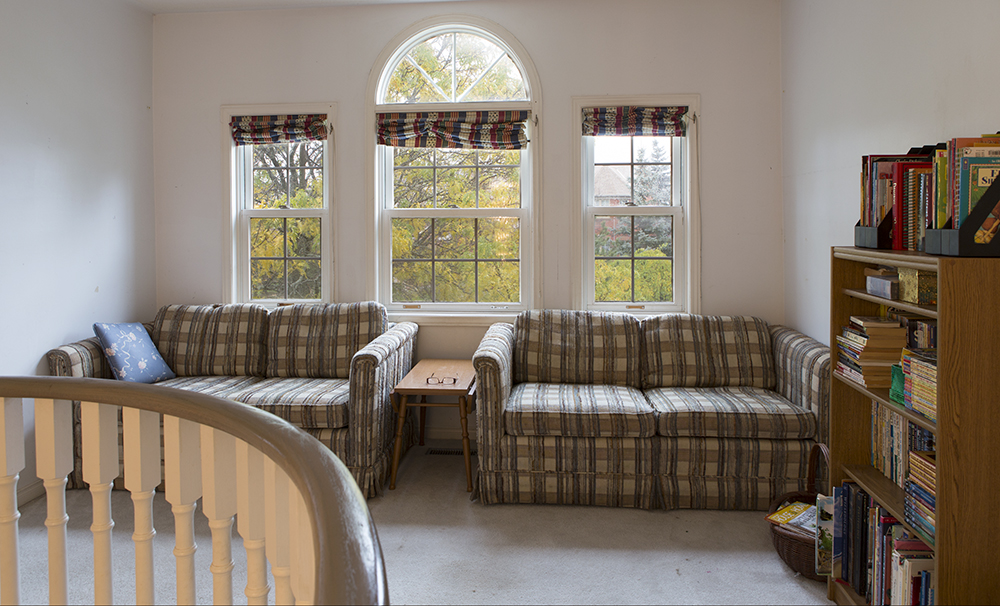
Here are the rest of the pictures showing the sewing room as it was before.

IMG_8481edit IMG_8482edit IMG_8480edit

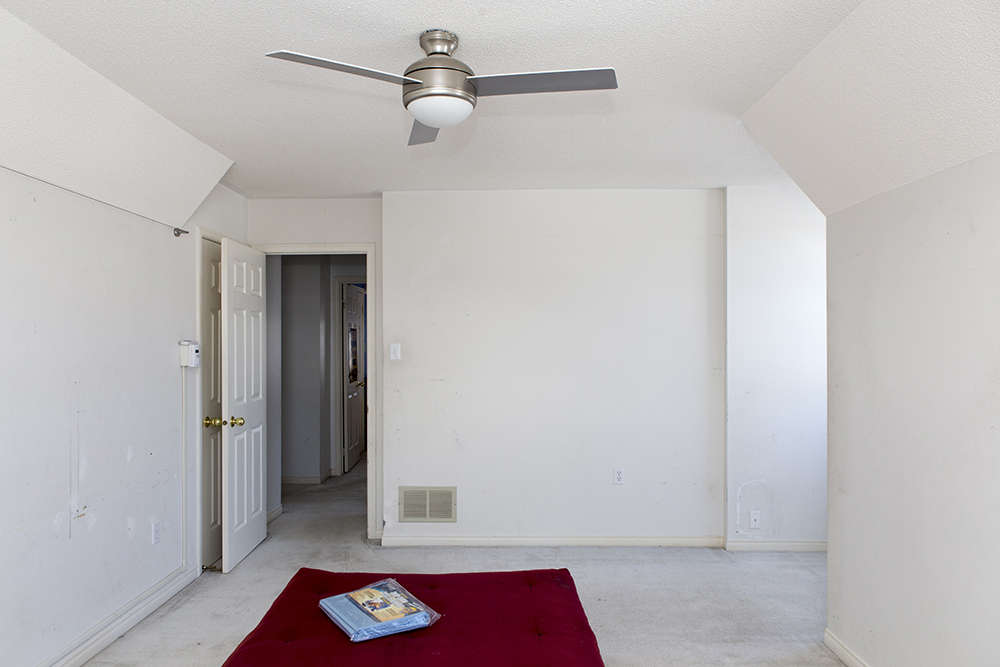
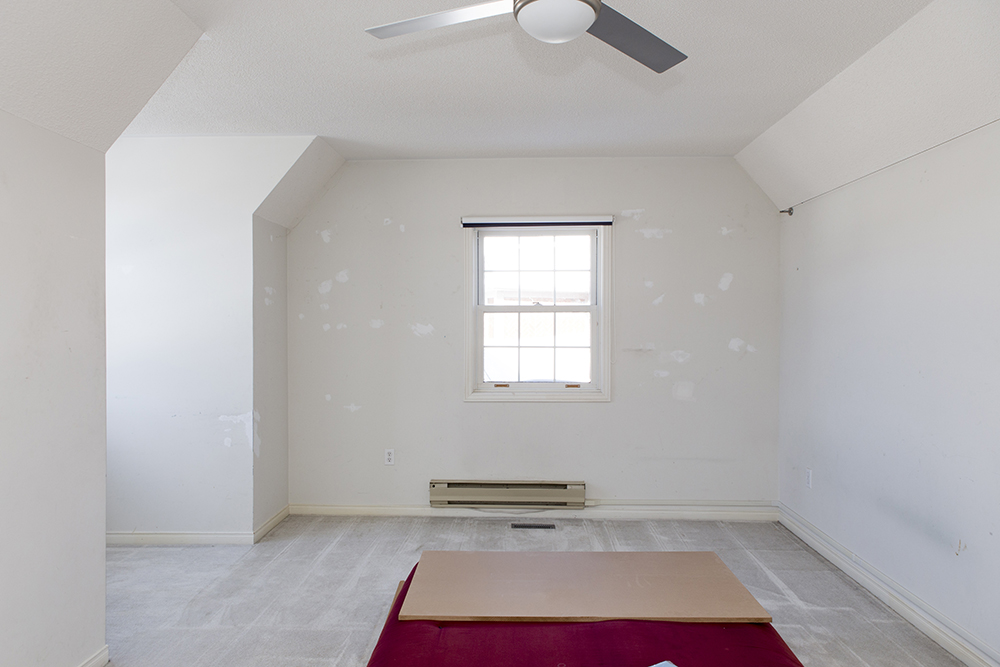
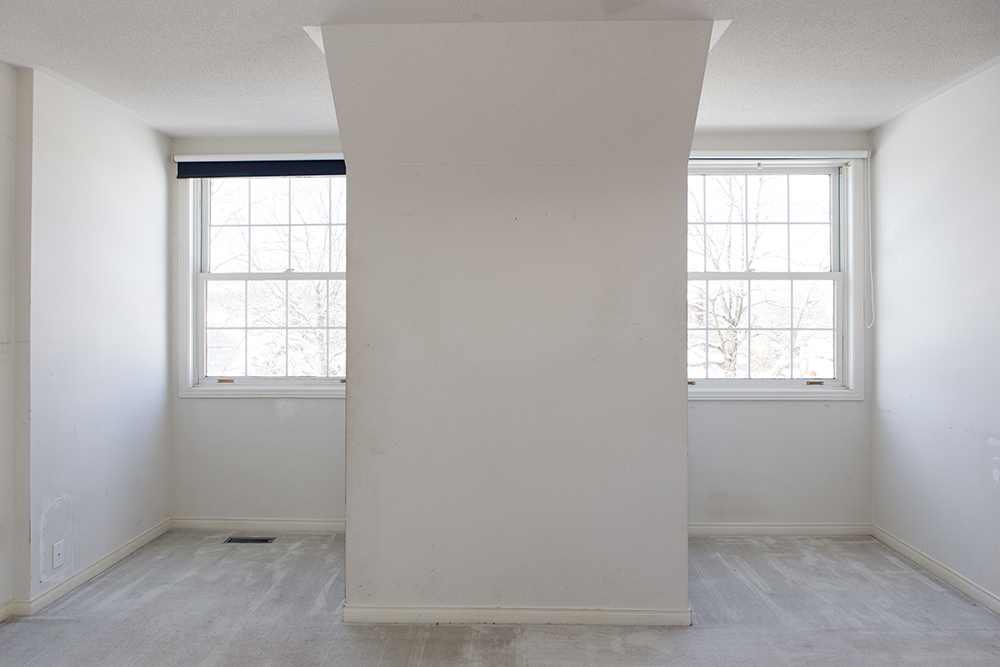
Here it is completely empty.  I decided to spend Friday shampooing the carpets.  Yes, I know, adding items to the project plan again.  It came up quite nicely.

IMG_8560edit

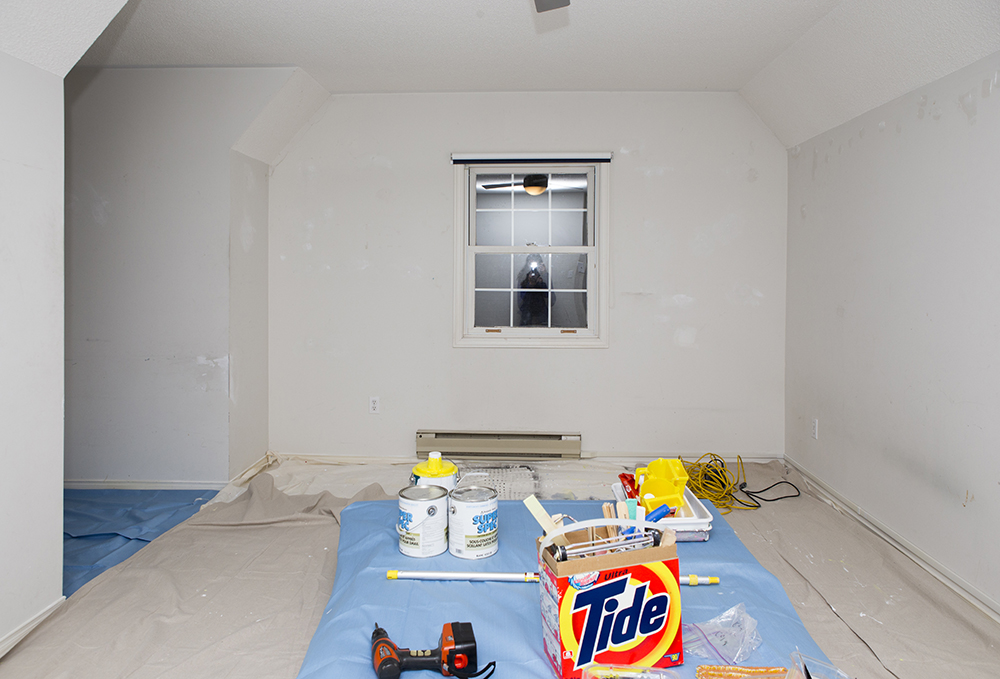
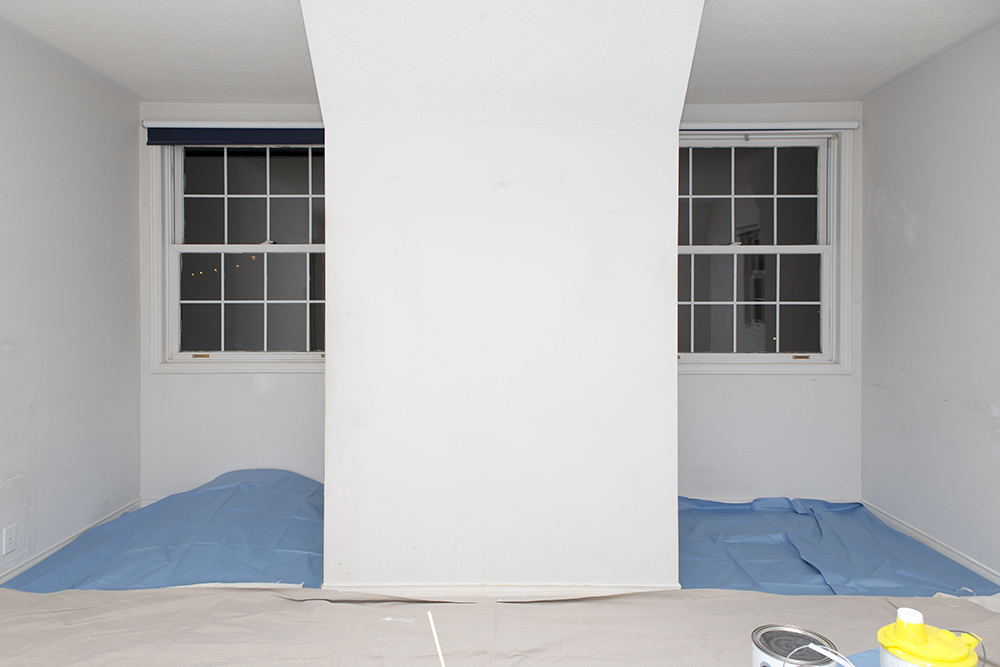
The patches you see on the end wall were made by the previous owners who then didn’t get around to painting.  Neither did we until now.  This room has never been painted since the house was built.  The walls are a mess.

IMG_8558edit IMG_8559edit

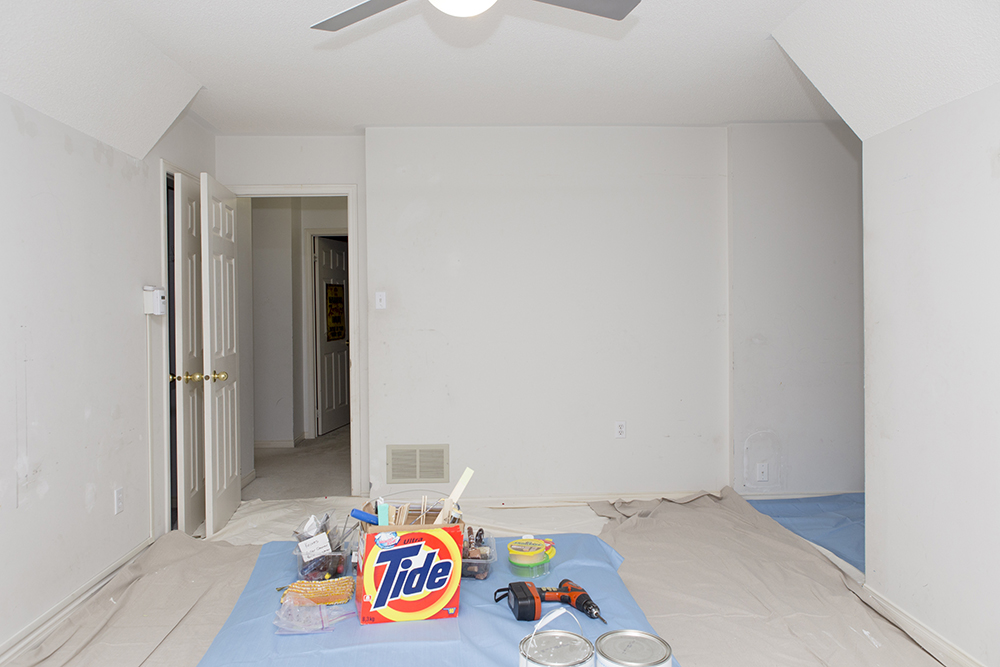
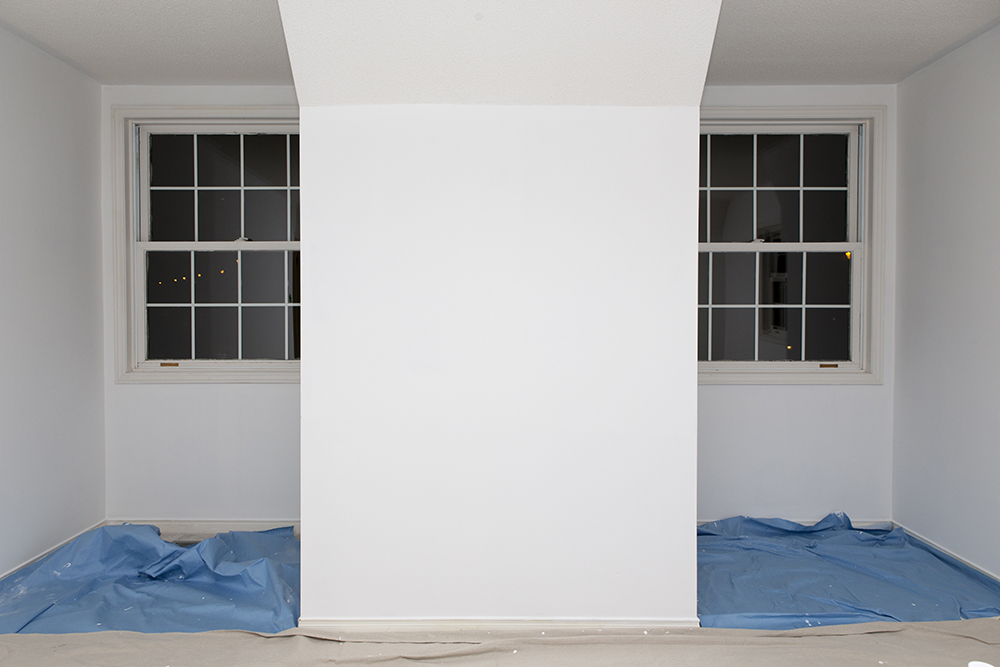
Here is with drop sheets ready for the work to start.

IMG_8566edit IMG_8564edit IMG_8565edit

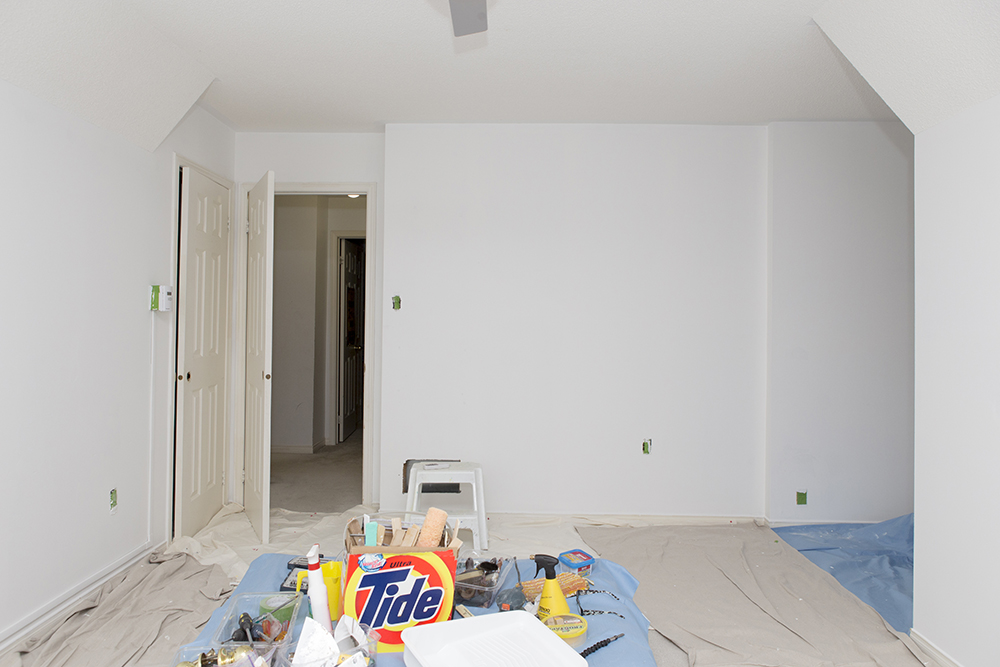
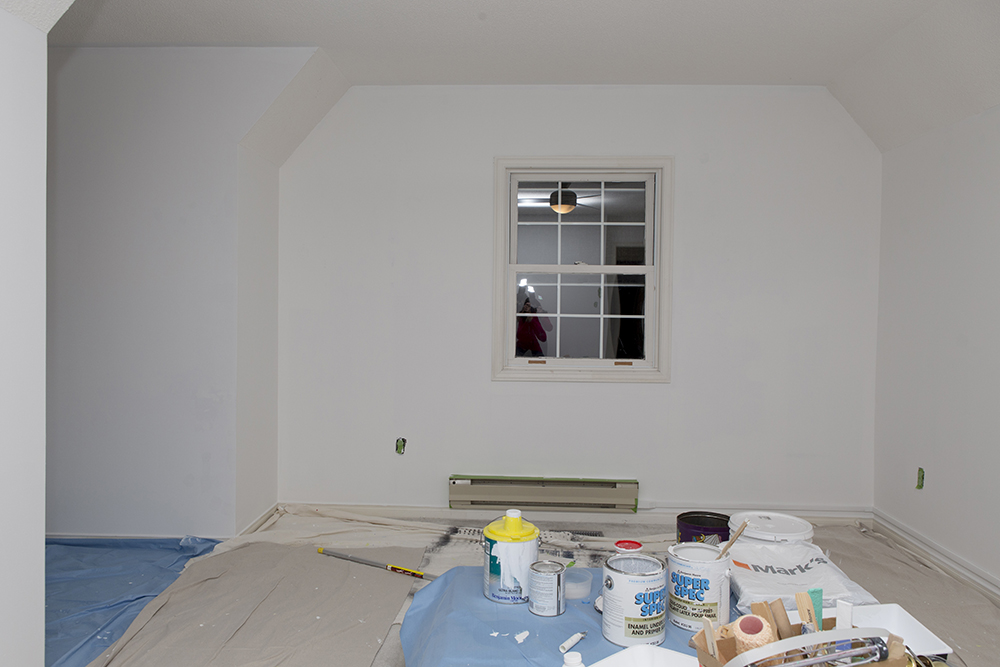
Here it is this evening.  We spent the day removing hardware and plates, repairing, sanding, washing, cutting in and rolling primer.  The walls were extremely dry and took about one and half cans of primer.  We will view in the daylight tomorrow, but are pretty sure that we will do another coat of primer before moving on to the tinted paint.

IMG_8570edit IMG_8568edit IMG_8569edit

It’s hard to determine from the photos how much the walls have improved with all the work we did today, but take my word for it, they look so much better than before.  Trystan picked his paint colour today – Costa Rica Blue.


Thursday December 11 – Carabram Park Community Ice Rink

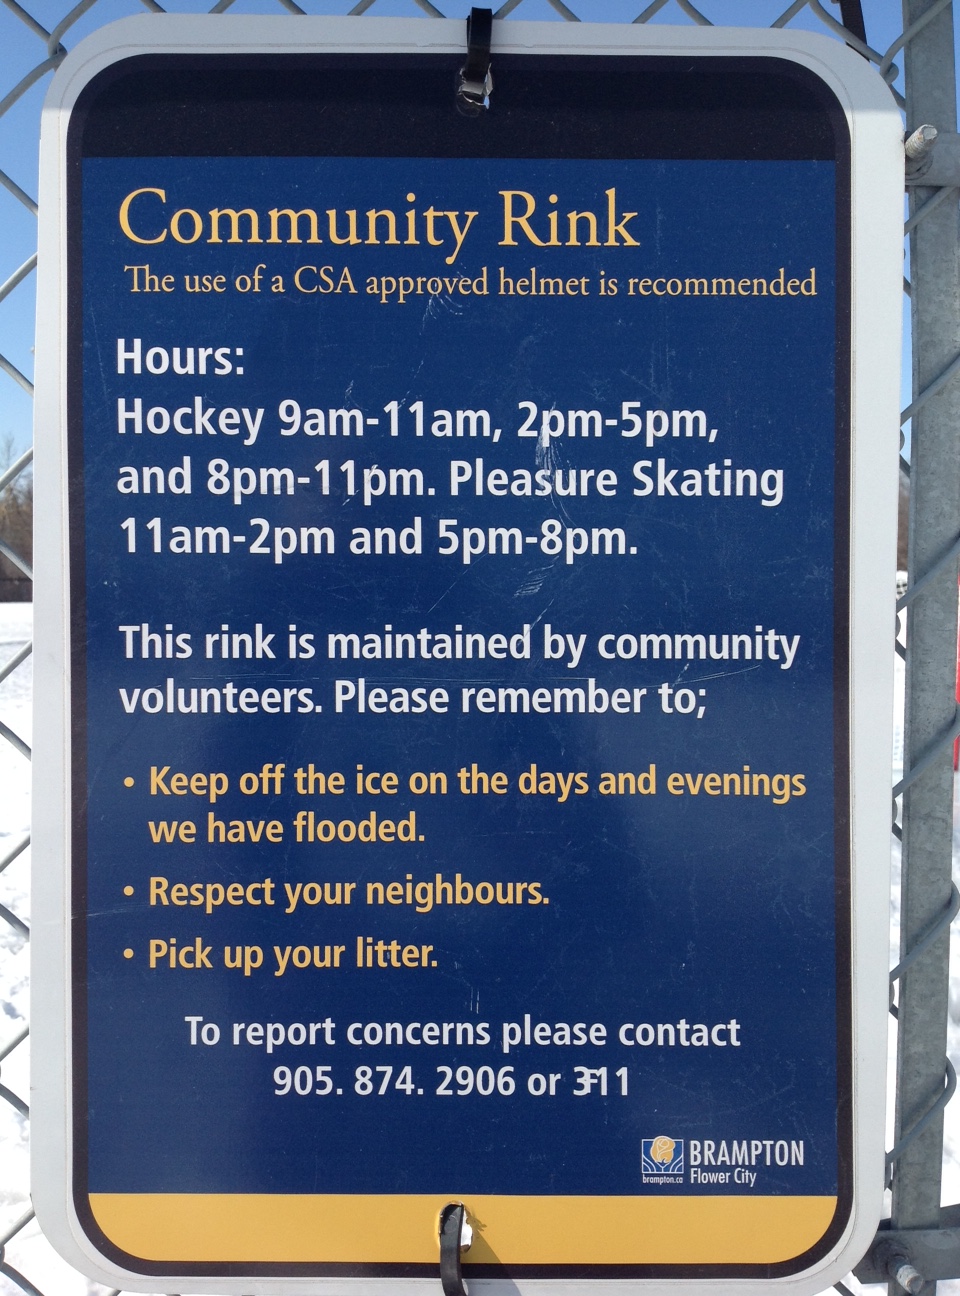
One day in January 2013 I noticed a new sign entitled “Community Rink” on the fence of the baseball diamond in the park near my home.

IMG_1573

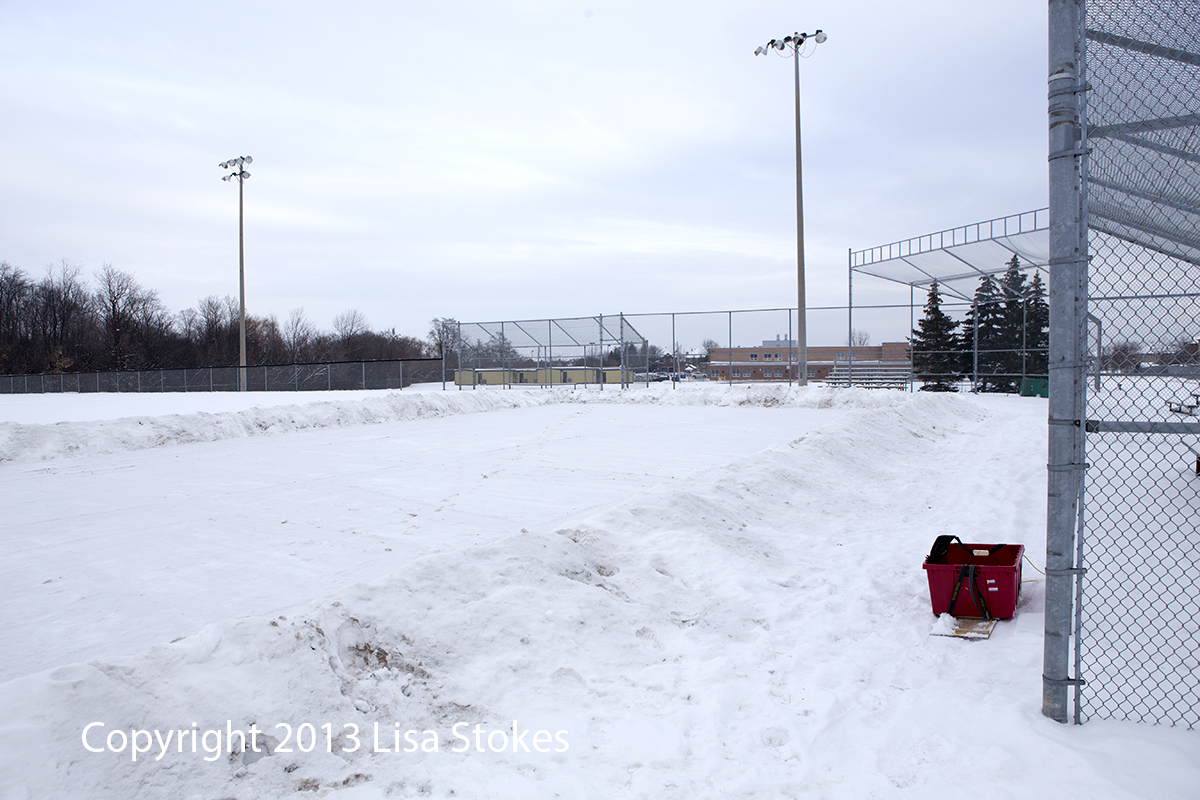
There didn’t appear to be a rink, just a snowy ball diamond.  So I called the number on the sign to inquire about the rink.  I was told that there was a volunteer in the community that would be building the rink.  I asked for contact information, but was unable to acquire it due to Ontario’s new privacy legislation which seems not to actually protect anyone’s privacy when it really matters, but only to hamper the exchange of information when it would actually be useful and of no harm to anyone.  I asked the City employee if they would pass along my name and number to the volunteer and have them let me know how I could help.

A number of weeks passed, with no one calling me and no ice rink appearing.  I called back and was told that the volunteer had been out of the country, but was now back and would be building the rink.  By this time it was nearing the end of January.  Ice rink building is a rather time limited activity.  More time passed with no rink;  the rink was never built.

Fast forward to December of 2013.  I called the number again.  I explained what had happened earlier and said I wanted to be the volunteer to build the rink.  Turns out the previous volunteer had moved away and, in addition to never building the rink, didn’t even return the equipment.

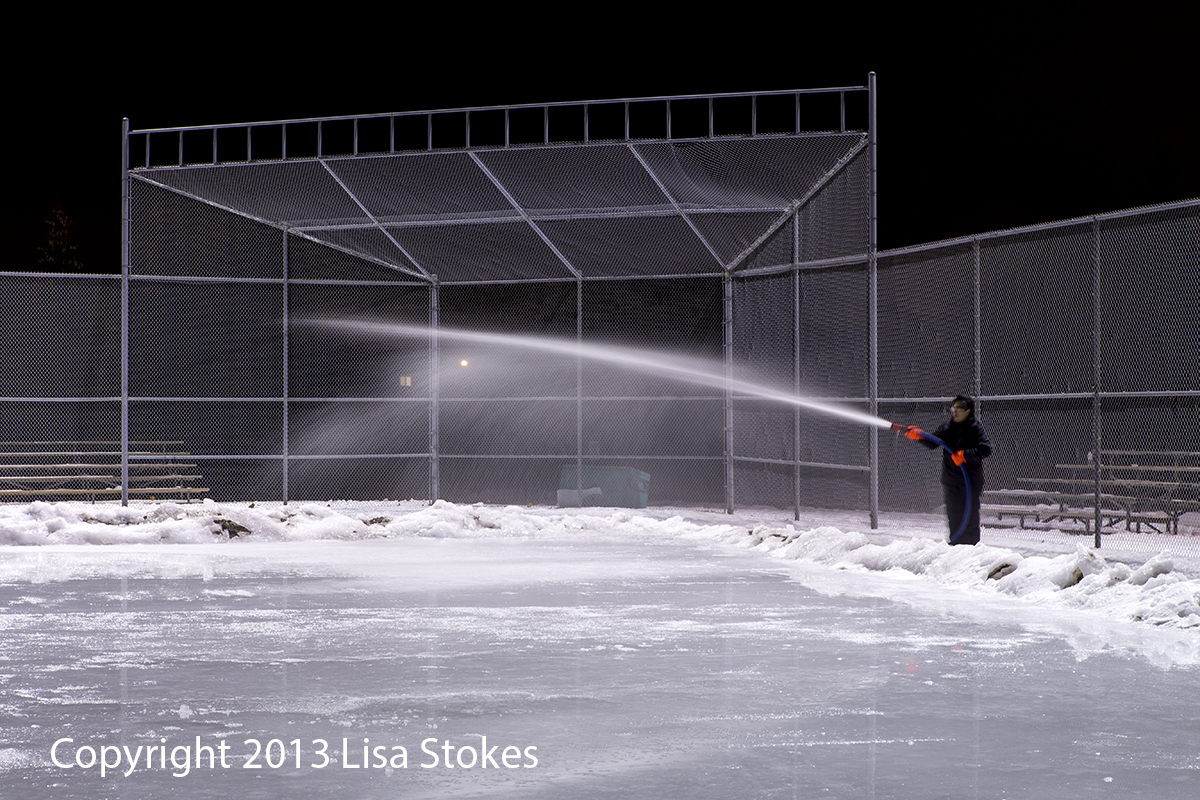
I was required to fill out paperwork for myself as the Rink Coordinator and get five other adults from the neighbourbood to agree to form a committee.  Once that was completed, I learned what was involved  – wait for snow, shovel snow to create barriers, spray repeatedly until 4-6 inches of ice has built up.

The weather was ideal last winter for ice rink building.  A large group of friends and neighbours came out to build the banks on December 15 and it didn’t take long at all.  I provided hot chocolate and Timbits.

IMG_1412 IMG_1413

The City employee met with me on December 18 to deliver the equipment, two 25 foot two inch fire hoses, a nozzle and a key for the standpipe, and to show me how to use it.  I strapped a moving box onto an old toboggan to get the equipment back and forth from my house to the rink.

IMG_3814 dm

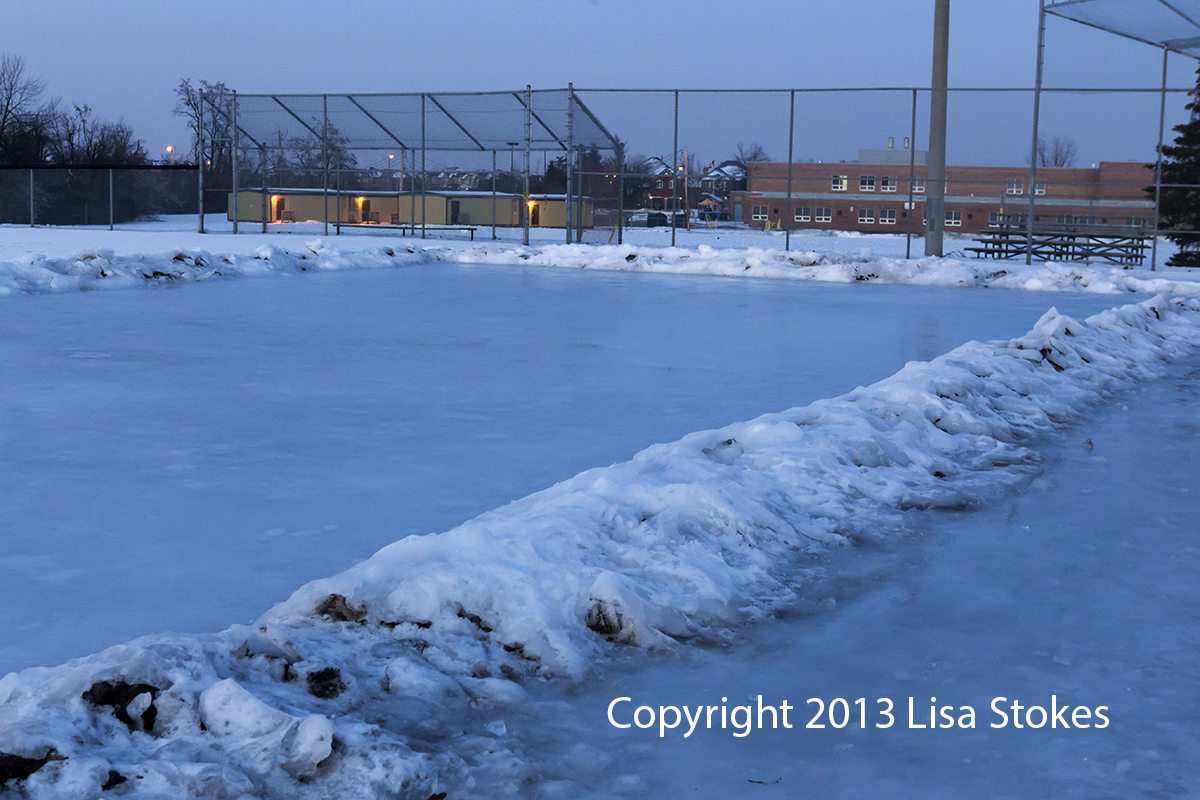
We flooded several times daily between the 18th and the 20th.  Then on the 21st we had the ice storm.  It was too slippery and there was too much work cleaning up our property to do anything for several days.  The ice storm made the banks brittle and leaky, so once we started flooding again we lost a lot of water under the banks.  This picture was taken on the 28th.  The ice surface was still too thin and uneven.

IMG_4443 sm

Here’s Newman spraying on the 29th.  You can see how lumpy the ice is and how leaky the banks are.

IMG_4452 sm

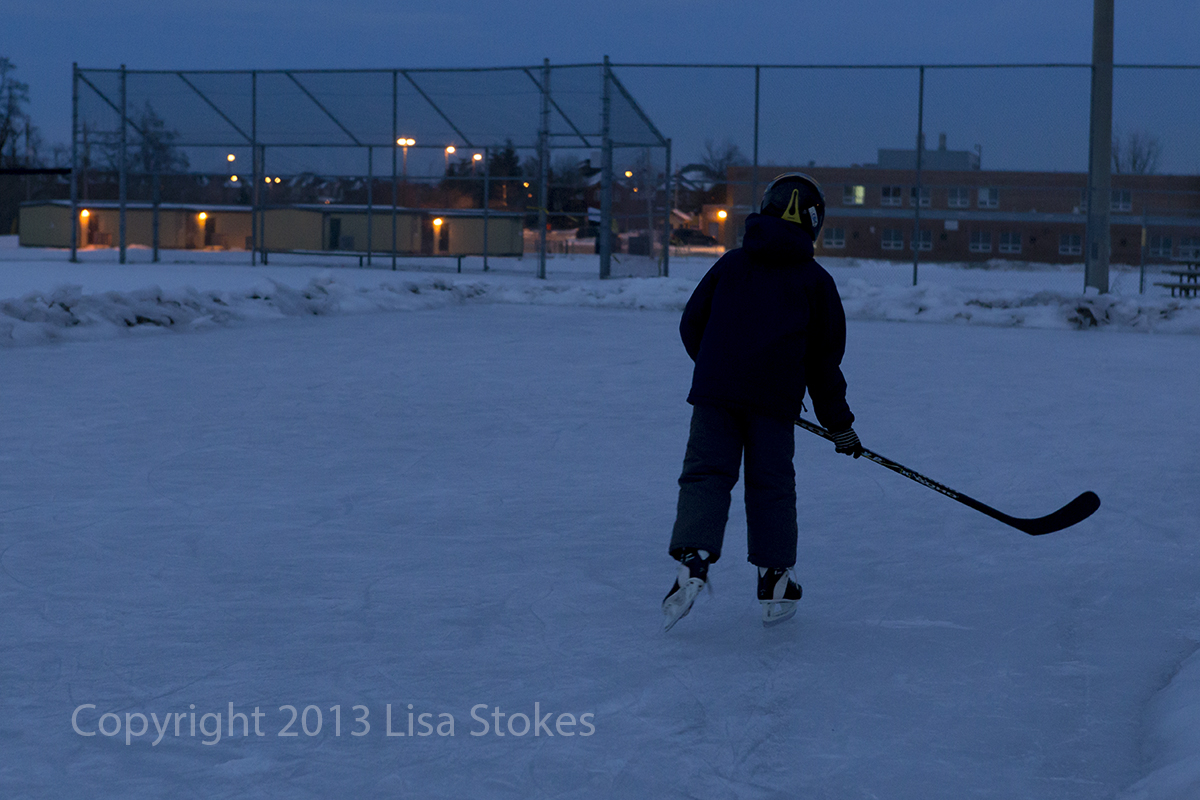
We finally opened the rink for skating on the 30th.  Here is Owen skating on it for the first time.

IMG_4463 sm

This year I planned to volunteer much sooner and got the paperwork done in November, but the weather hasn’t been cooperative.  We finally got a big snowstorm on Thursday and even though the weather is forecast to be well above freezing for four or five days, I decided to clear a space and create the banks when we had snow in the hope that the banked snow would not melt.

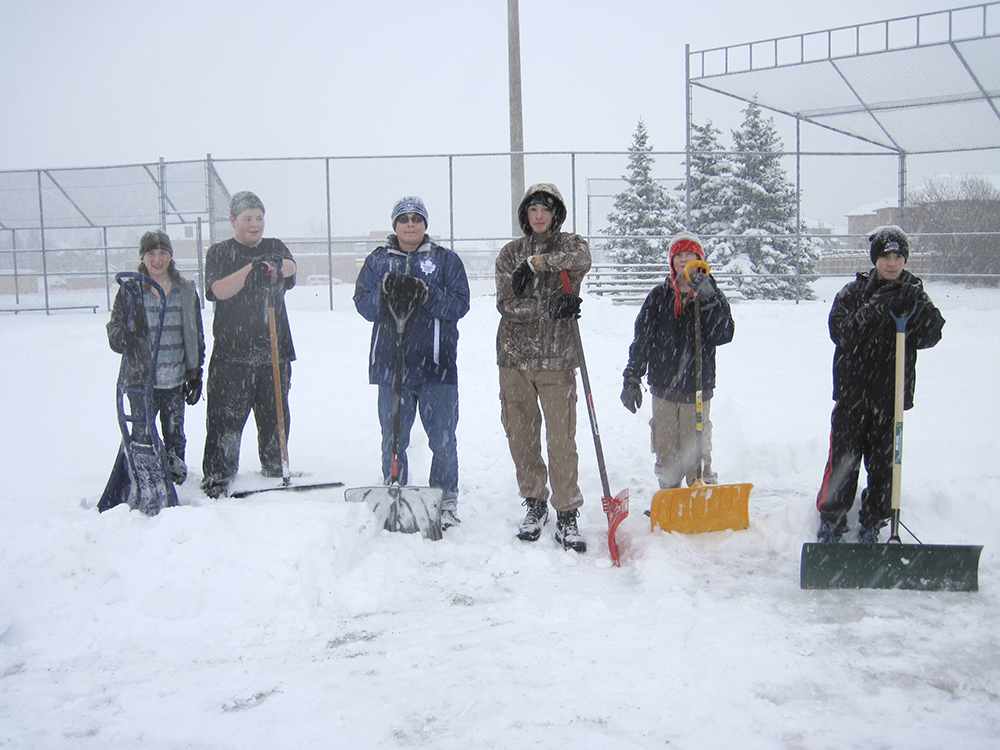
We have created a bigger area this year but, unfortunately, had fewer volunteers out helping since it was a weekday.  Thanks to Trystan, Edmund, Owen, Anthony, Phil and Luca.  It was a hard 90 minutes of shoveling.  The snow was about 10 inches deep and we cleared a space about 50×100 feet.

IMG_0719edit

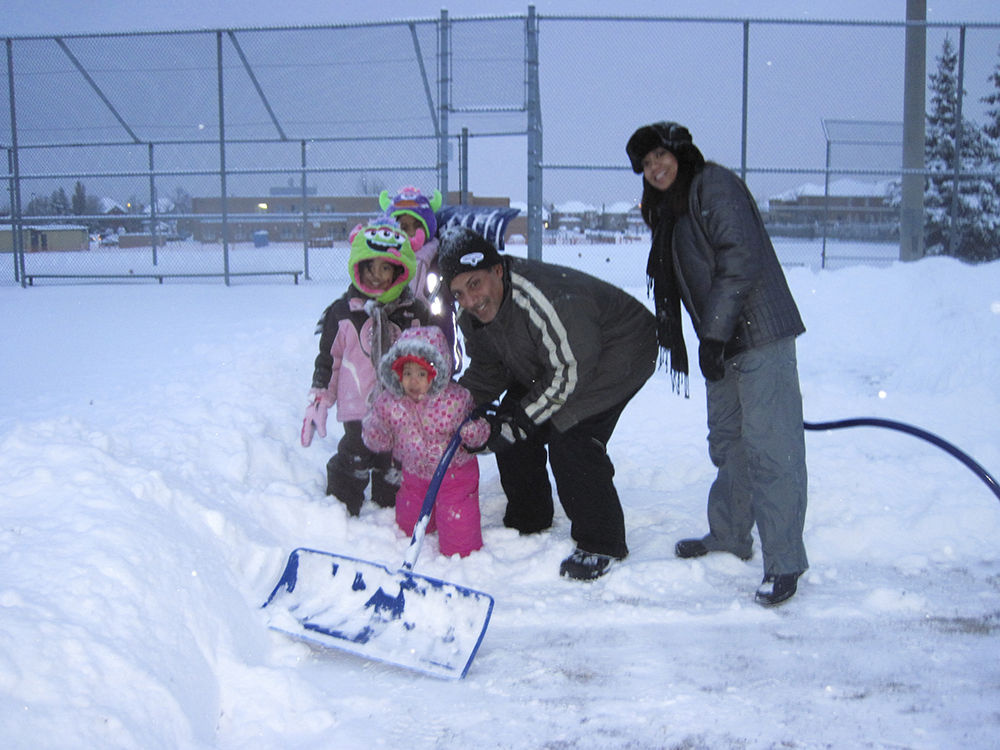
Bryan, Dinah and their three little girls joined us when we were flagging when we were about two thirds done.  Thanks guys.  I don’t think we would have finished without you.

IMG_0721edit

I was supposed to go to spin class at 5:30, but I was tired and the roads were too bad for me to be able to get there on time so I skipped it.  My neck and shoulders were sore from the shoveling.  It was dark by the time we finished.

IMG_0722edit

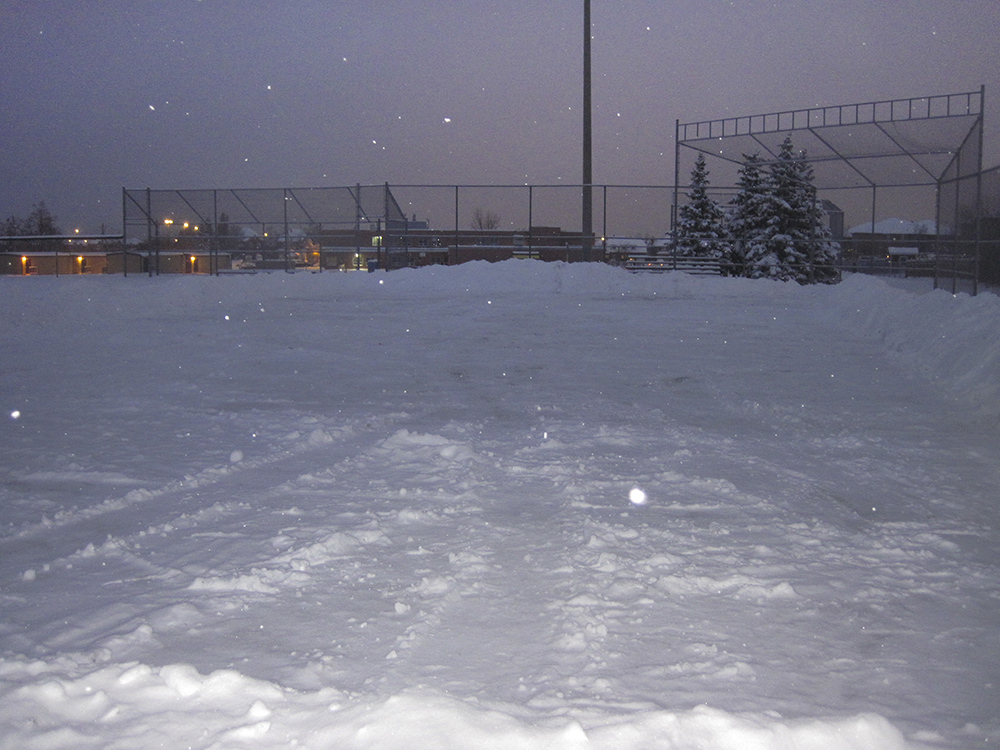
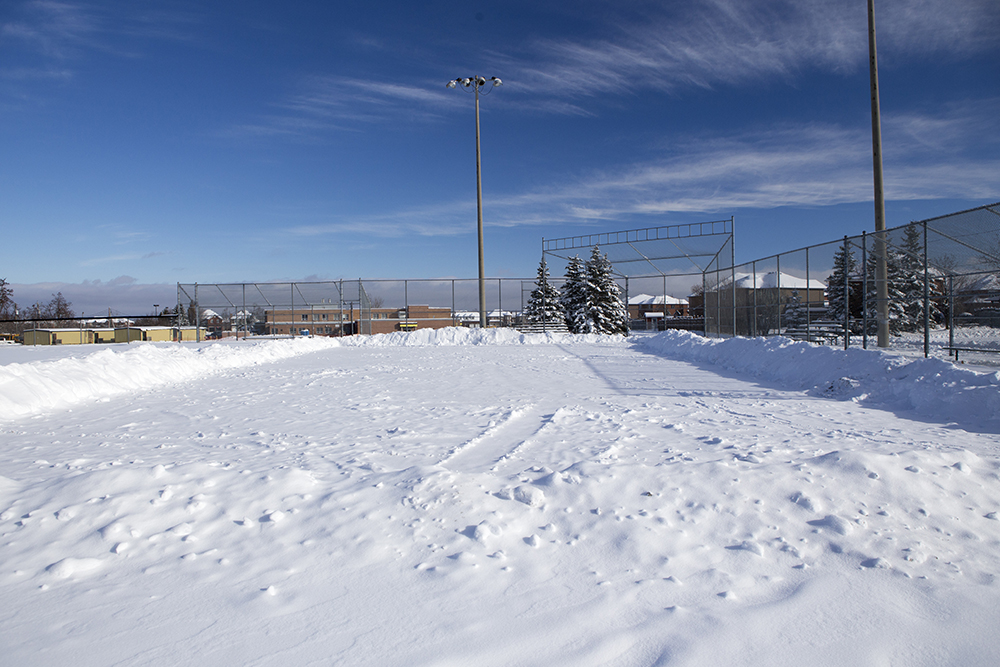
Here is the cleared area on Friday.

IMG_8550edit

Here are the signs I put up.  We had a lot of problems with inconsiderate people interfering with the rink as we were trying to build it last year.  I hope it will be better this year.

IMG_8551edit


Tuesday December 11 – Mike the Chimney Guy

On Sunday we learned that our damper could not be repaired, but needed to be replaced.  Mike the Chimney Guy told us he would order the part and come back in a week to ten days.  I told him someone is usually home, so to call if he found time sooner.  Today,  just as I was heading out to run errands, he called to see if he could come by between 11 and 12.  I told him, “yes”.

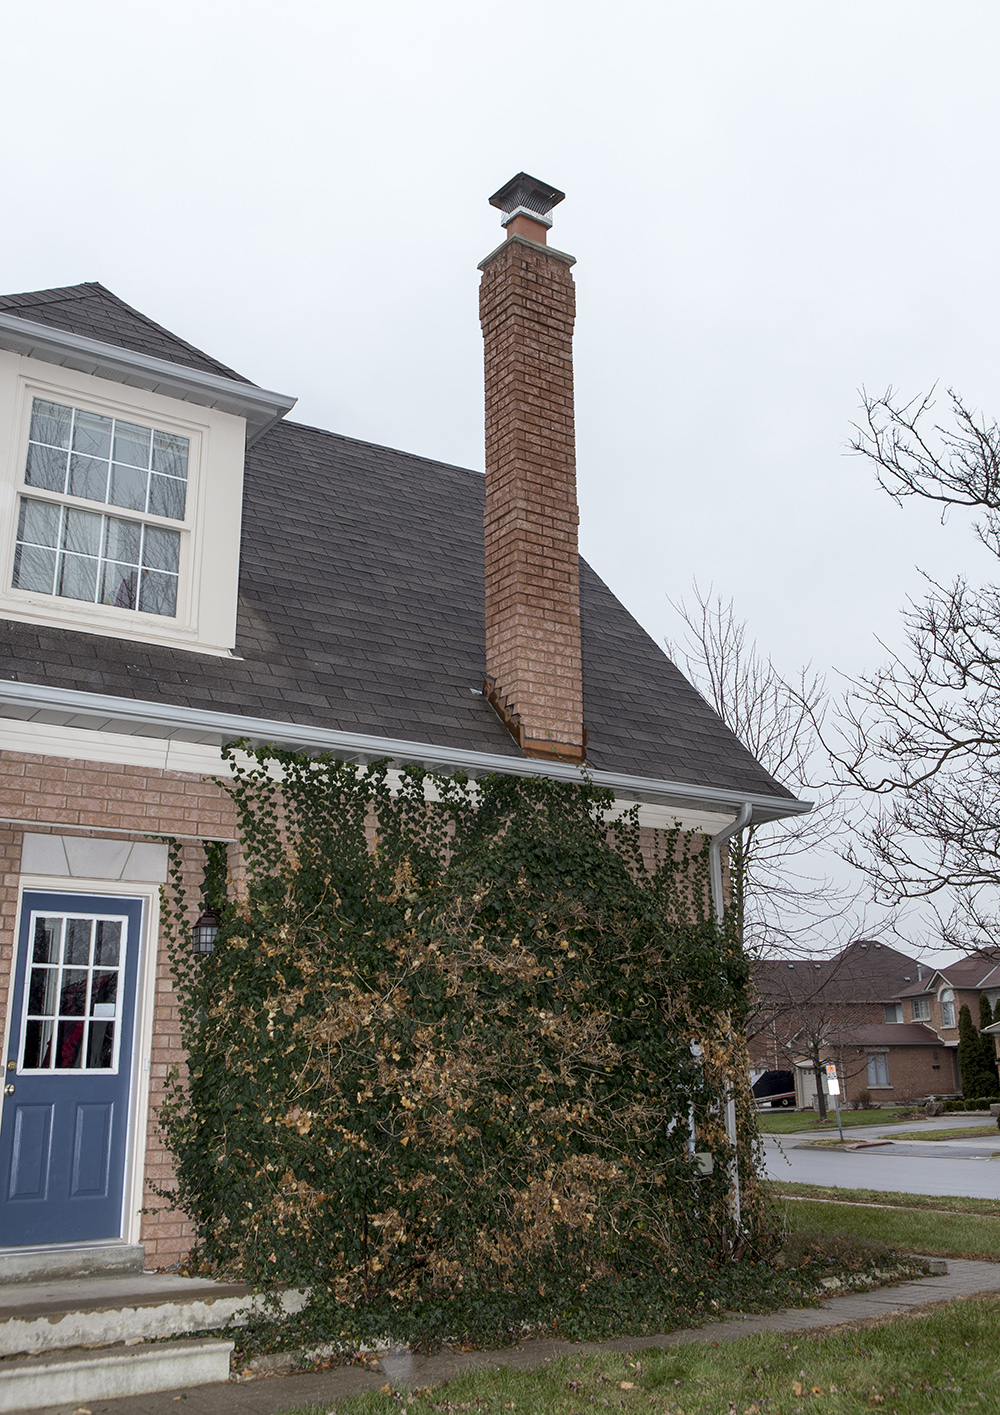
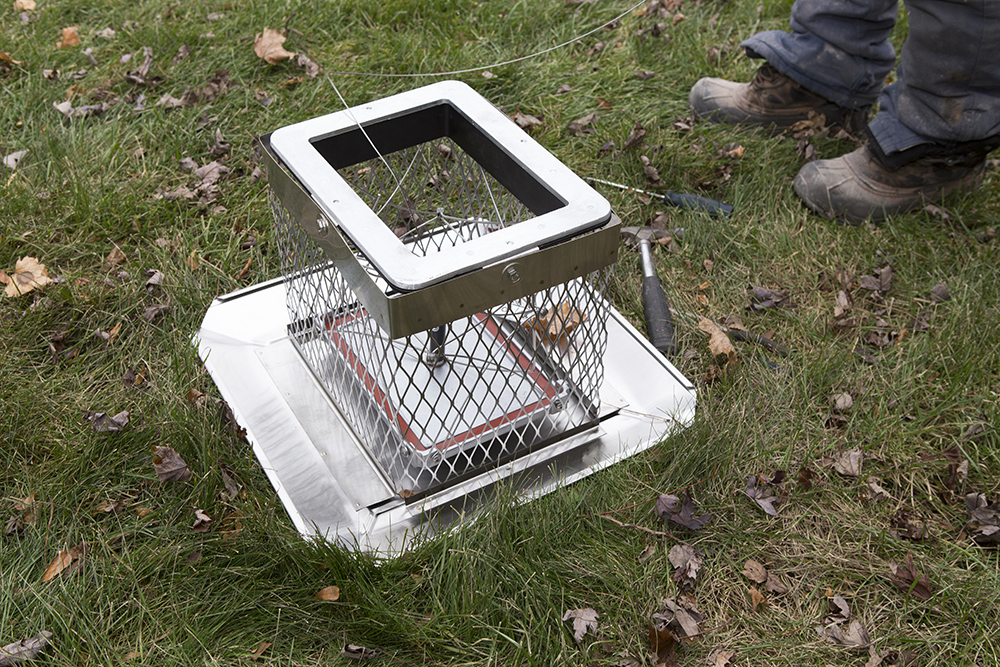
Here is the new damper.  It sits on top of the chimney.

IMG_8525edit

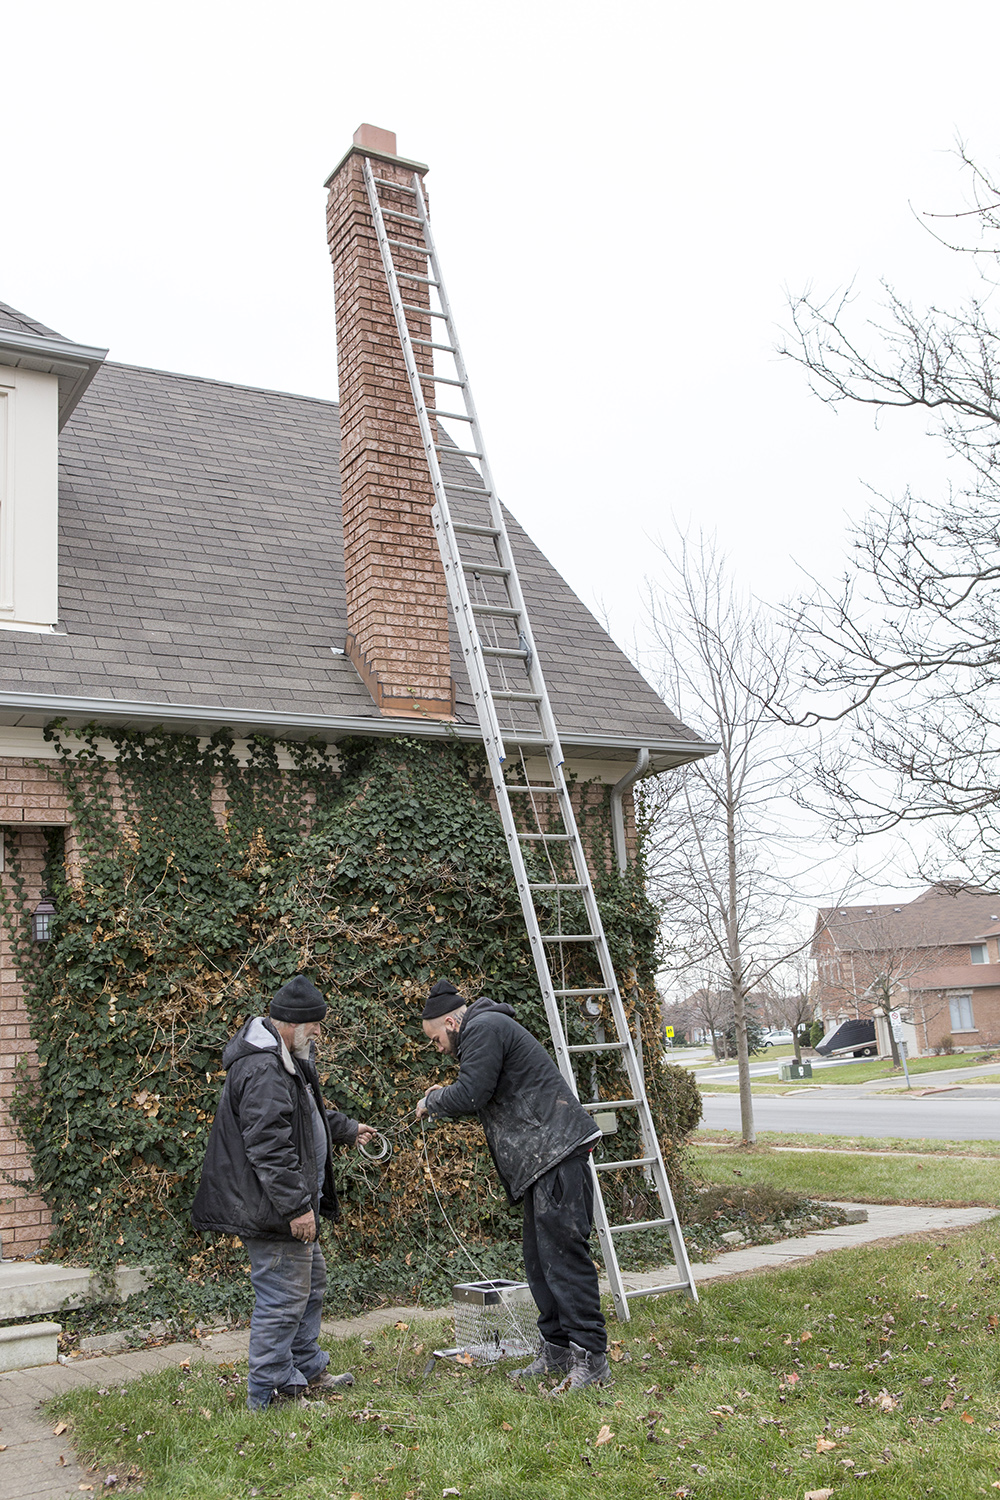
First they removed the animal proofing we had installed a few years ago to keep out racoons and squirrels (neither actually made it into the house through the chimney, but we had several incursions into the attic and when animal proofing our eaves and dormers, did the chimney as well.  Here they have already moved the old animal proofing.

IMG_8526edit

They then installed the damper with a new animal proof cage on top.

IMG_8530edit

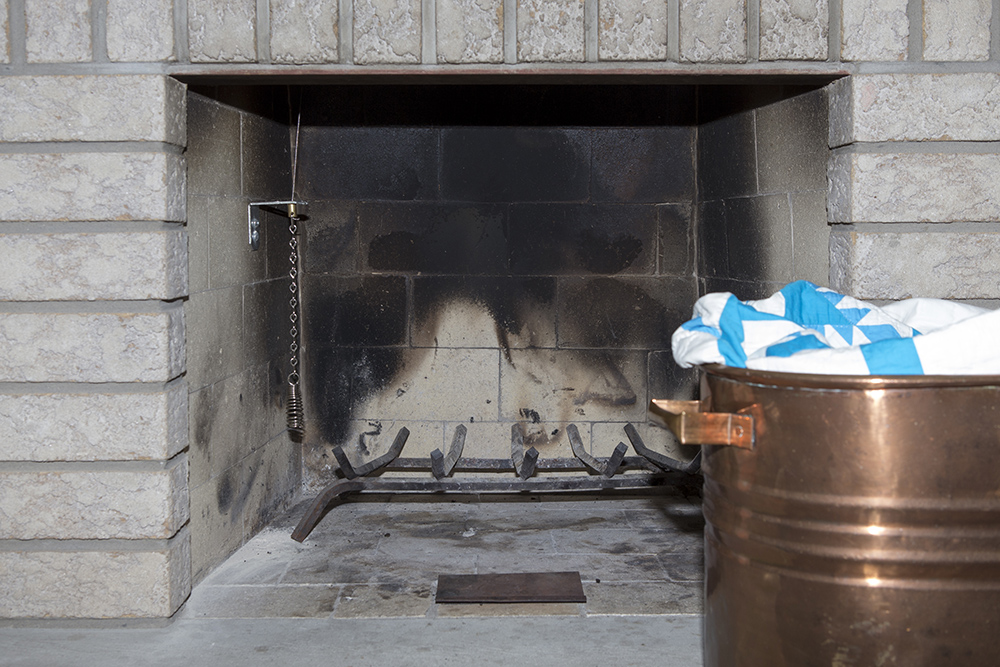
They dropped a steel bar and chain down the chimney and installed a fixture to hold it on the left side of the firebox.  It’s much easier to open the damper now.  I can’t wait to have our first fire.

IMG_8529edit

Spray Paint, Fireplace Repairs and Ikea Cubbies

One day earlier this year, when I was wasting time pinning things on Pinterest rather than actually accomplishing anything, I came across a suggestion to have the paint store make up spray paint to match your wall colour.   I hate cold air returns.   If you leave them the original colour they stick out because they are a different colour than the walls.  If you try to paint them with a brush, the paint job is always drippy and still seems to end up being a different colour from the walls.  No matter what we’ve done in the past they have always ended up being a eyesore.

When we purchased paint this time, I asked if they could make up spray paint to match our wall colour.  The clerk suggested the Preval Spray System.  It comes with a spray nozzle, propellant and reservoir.  You add your paint and some water to thin it, put it all together and spray.  I was thrilled with the results.

IMG_8490edit

When we painted Alun’s room in February 2013, we never even put the cold air return back.  We started painting it, but it looked so bad we gave up.  He’s just had an ugly hole in his wall for almost two years.  A couple coats of primer covered the mess.  Fortunately, we had a couple ounces of paint left in a jar.  Two coats of tinted paint and it looked great.  The spray is quite thin and dries very quickly.

After installing it, I even used the sprayer to cover the heads of the screws.

Here’s the one I did for my new sewing room.  I highly recommend this product.  It’s quite cheap as well as being useful – just $10.  You can buy extra propellant.  I just wish you could buy extra bottles so I could store the paint in them.  There is a contractors’ pack on their website which has extra bottles and a trigger, which I would buy if I hadn’t already bought two of the individual sprayers and an extra propellent.

IMG_8517edit

Does this happen to you?  We are very careful about prepping our walls before painting.  We clean, sand and repair, but we always seem to find a nail pop when we are done painting.  Do you see the one in the picture above between the electrical outlet and the cold air return?  I didn’t notice it until I was looking at the picture which I took to show how nicely the cold air return matches the wall.  I wonder if painting actually causes the nails to pop?

A few years ago, when we opened the damper on our fireplace, it fell apart.  We got a flashlight, found the screw that holds the heavy cast iron damper to the frame and reattached it.  It held, but was quite wobbly.  A year later it fell apart again and we could not get it back together.  This morning we had a chimney sweep come to the house to inspect and clean the chimney (something we have never done even though we’ve been here 15 years now) and to repair the damper.  He told us he would charge $125 which seemed quite reasonable.  Well, as so often happens when the cost of something seems reasonable, more is required than anticipated.  The damper cannot be repaired.  It is held in by one screw which goes into a frame which is cemented in when the chimney is built.  The frame is stripped so the screw won’t hold.  Who thinks one screw holding up a heavy cast iron damper is a good idea?

IMG_8521edit

Currently, the damper is installed at the top of the chimney with a stainless steel chain attached to a control in the firebox.  That is what we need.  The animal proof one (which we need since we have had many animal incursions into our attic which we have animal proofed at significant expense) is $750.  He will have to order it and come back next week to install it.  Sigh.

When we moved into this house 15 years ago, we decided to dedicate a room to be a playroom.  I wanted to try to keep some order so we bought three Ikea Bonde cubby units to store the toys.  Like most Ikea units they have a cardboard back which is nailed on with finishing nails and which gets pushed off when things are pushed against it.

I have emptied those units of toys and will use them in my new sewing room (the old playroom) for my quilting and photography storage.  We decided to try to rehabilitate the backs by removing them, adding copious amounts of glue and many more nails than is called for in the instructions.  Here they are waiting for the glue to cure.  We will set them up and start filling them later today.

IMG_8519edit

Thursday December 4 – Piano Repairs

I have the piano that my grandparents bought about 1920.  It is a Heintzman upright baby grand.  My mother, who was born in 1926, learned to play the piano on it.  In the early 1960s my grandparents gave it to my parents.

IMG_8465edit

My father took it apart and stripped the black finish and oiled it with walnut oil.  He had a friend refurbish the sound board.  You can see the original colour inside the piano.

IMG_8473edit

About eleven or twelve years ago, Megan was interested in taking piano lessons so my parents, who no longer played, gave it to me.  I found a company to move it and made a place for it in my dining room.  Megan initially took piano lessons from her Kindergarten teacher, Mrs. Barnhouse, who was an amazing kindergarten teacher, partly because she played piano and had one in her classroom and used it every day.  I remember several of my elementary school teachers playing the piano.  I think that is pretty rare in a teacher these days.   Most just throw on a CD.  I think there is something much more compelling and educational about the teacher providing live musical accompaniment to the lessons.

Megan has Mrs. Barnhouse for Senior Kindergarten.  Alun had her for both Junior and Senior.  Trystan had her for Junior Kindergarten and then she retired.  At that time teachers were still able to come back as a substitute teacher after retiring, so even Owen was able to experience her as a teacher, although not her wonderful piano playing.

I read that a piano should be tuned after moving and then, depending on how much it is played, it should be tuned a couple times a year.  My dad told me the piano hadn’t been tuned since he rebuilt it in the early 60s.  I asked Mrs. Barnhouse to recommend a piano tuner and she suggestion Robert Mayer from Georgetown.  He has perfect pitch and tunes by ear.  He sat down and played beautifully upon his arrival.  He then declared that there was very little tuning required and I would not need his services again in the near future.  Apparently, this piano is known for being excellent at holding its tuning.

About a year later, my father was was playing the piano and pedaling exuberantly.  There was a loud crack and then every note played was sustained even though the pedal was not depressed.  I called Robert and he came out to take a look.  He thought the frame was cracked but did not have his “piano cradle” with him so couldn’t turn the piano over to check or repair.  He asked me if I had some magazines.  I provided him with a pile and he slid them under until the frame was supported and the sound was back to normal.  He said I could just leave it like that.

IMG_8467edit

Fast forward ten years.   Our dining room ceiling is a mess of water stains and cut-out drywall.  Thirteen years ago, when Alun was two years old, I was on the phone one afternoon.  I could hear the toilet in the master bathroom refilling.  After a while, it occurred to me that it had been refilling for too long.  I went upstairs to check and found the floor of the bathroom covered in water and most of a roll of toilet paper blocking the water from draining.  Water was flowing over the top of the toilet, spilling onto the floor and down the heating register!  I quickly turned off the valve and started throwing towels on the floor, but it was too late, the water ran along the joists of the dining room ceiling, dripped through in a few places and created long brown stains.  We didn’t have the skill or money to repair it so we just left it.

IMG_8500edit

Some number of years later, I heard a dripping sound from the dining room and went to investigate.  There was a huge bubble of plaster full of water in the ceiling beneath the shower.  I grabbed a pail and poked a hole in it.  What a mess!

IMG_8497edit

Michael cut out the wet drywall, determined what was leaking and repaired it.  That worked for about a year, then it started leaking again.  We got an estimate to repair it:  $5000.  We decided to leave it and shower in the main bathroom.  We did that for years until last January we decided it was time to fix it.

IMG_4528edit

We found a contractor through the Home Service Club.  He recommended ripping the shower out completely, pouring a cement foundation, putting in waterproof drywall and re-tiling.  Greenpark, the home builder, had just put a fiberglass pan on the subfloor.  It had always shifted and creaked when we moved around in the shower.  No wonder we eventually had a leak.  When Dean ripped out the tile and drywall, he also found that the drywall had been installed backwards, with the waterproof side away from the shower – another possible reason we had problems.

IMG_4550edit

That was in January.  We have been showering all year with no more leaks.  It’s now time to fix the dining room ceiling.  In order to do that we will have to move the piano.  In order to move the piano the frame needs to be fixed, so I called Robert once again and asked him to bring his “piano cradle” – a clever contraption that allows him to rotate the piano onto its back, by himself, to work on the frame.

IMG_8476edit

Turns out the frame wasn’t cracked.  There were two long screws that were stripped and no longer holding the bottom tightly to the sides.  A little wood glue and he was able to tightly re-seat the screws.

IMG_8471edit

I pointed out a key that was sticking and asked him to see if he could fix it.  He said it was probably a nickel.  The next time I walked into the room, he told me he had been wrong, it was a quarter and handed it to me.  He also asked me if middle C had always been sticking up.  As long as I can remember it has been.  He also fixed that.  It was apparently some dirt under the key.

I can date the last time Robert visited from the fact that the magazines were from 2004.  Here’s the quarter he found.

IMG_8494edit

The piano did not need to be tuned.

If you ever need a piano tuner I would highly recommend Robert.


Renovations Finally Continue

Almost a month ago, I posted Renovations, a blog about moving my sewing room to the main floor playroom, Trystan to the bedroom sewing/guest room leaving Owen where he is and the boys each having their own room after sharing for seven years.  Our progress was interrupted by Michael having to fly to Britain unexpectedly.  His mother was hospitalized and determined to be terminal.  Michael was with her when she died Thursday evening, October the 30th.  He stayed to plan and attend the funeral and clean out her house to ready it for sale.  We didn’t feel like jumping back into the renovations right away when he returned.

Last Sunday we decided we had delayed long enough and I chose and paint colour and we went to Bramalea Paint and Wallpaper on Torbram Road to buy it.  I like dealing with them.  It has been the same owners the whole time we have shopped there, which is almost 15 years.  They keep files on all the paint we have bought and in which room it was used.  After telling the owner that I wanted to paint a pale yellow I asked him to look up the colour that was on the walls so he could advise us as to how to proceed.  He couldn’t find it in the first computer he used, so he went to a second computer where he keeps the archives and there it was.  “Yellow and blue don’t play nicely”, he told us, before advising we do two primer coats in white, then two top coats in the tinted paint.
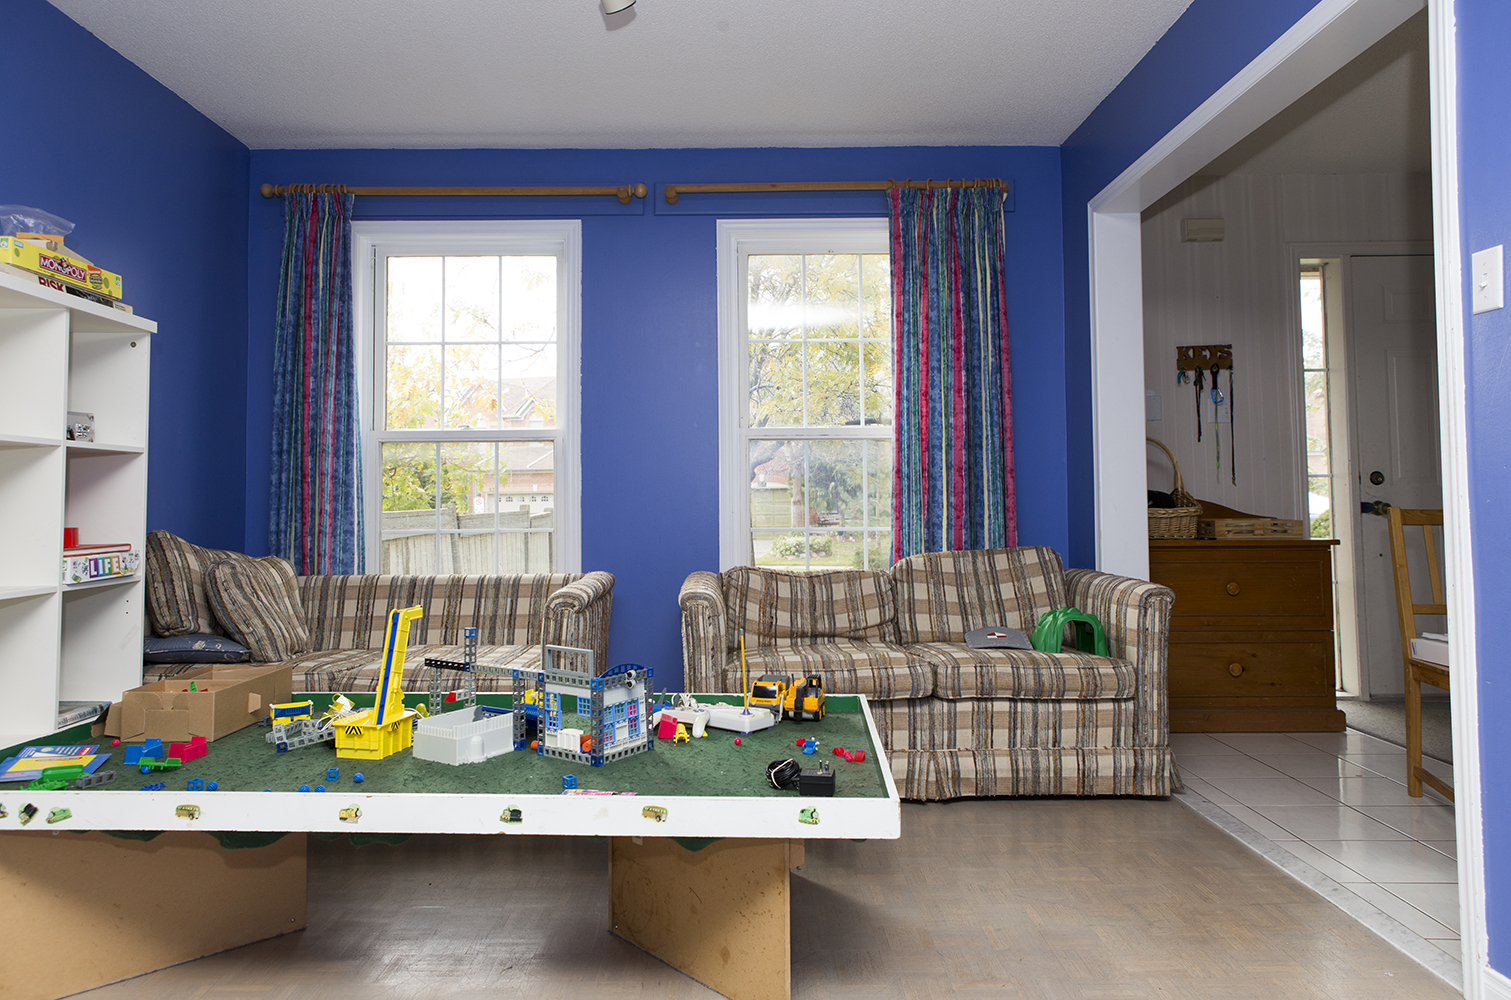
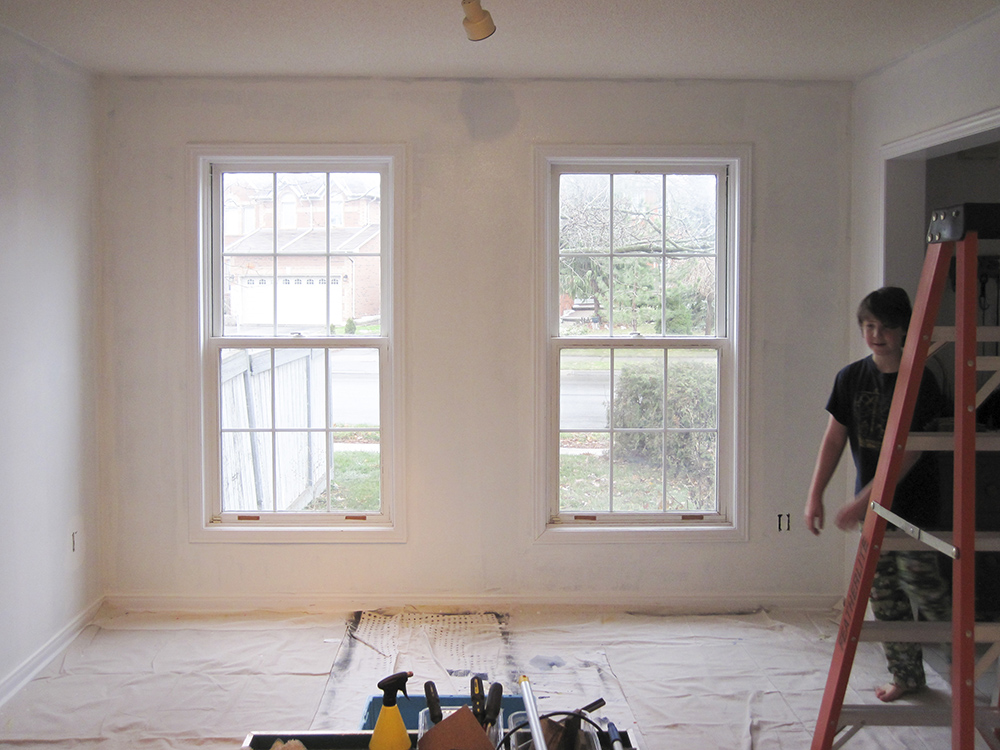
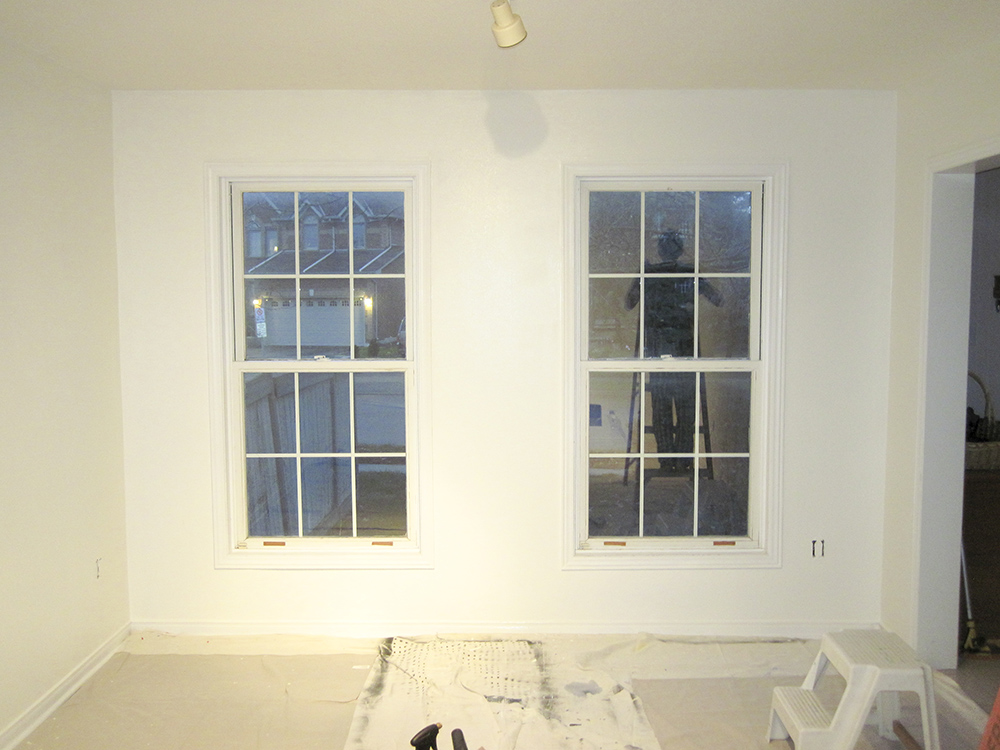
This is what it looked like before we began.

IMG_7964editsm

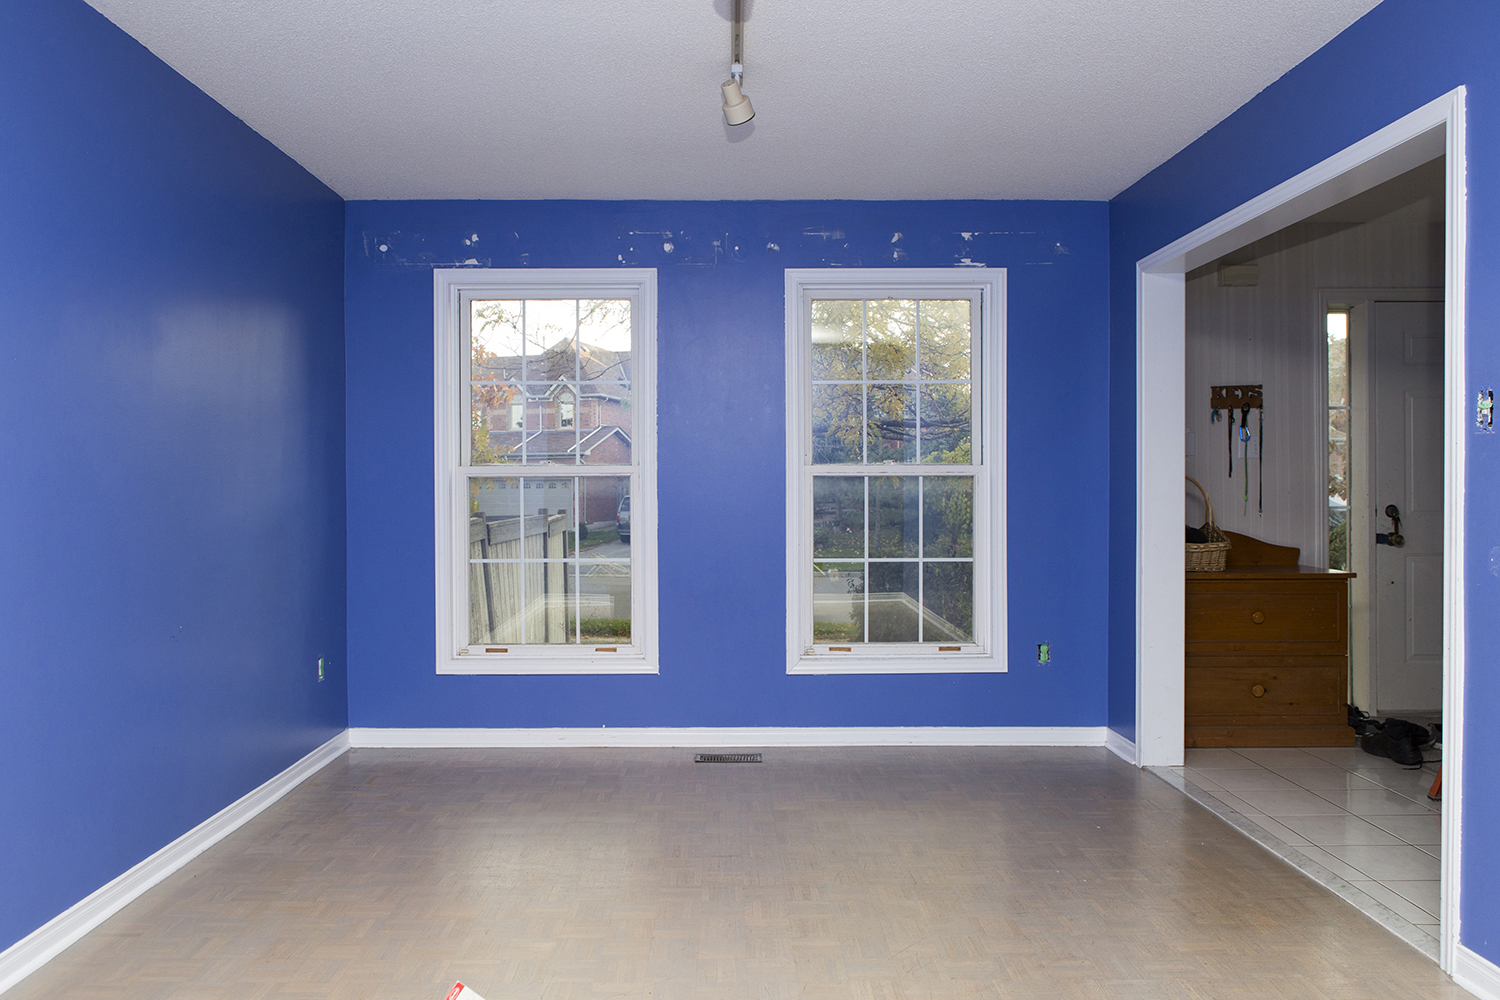
This is after removing all the furnishings.

IMG_8102editsm

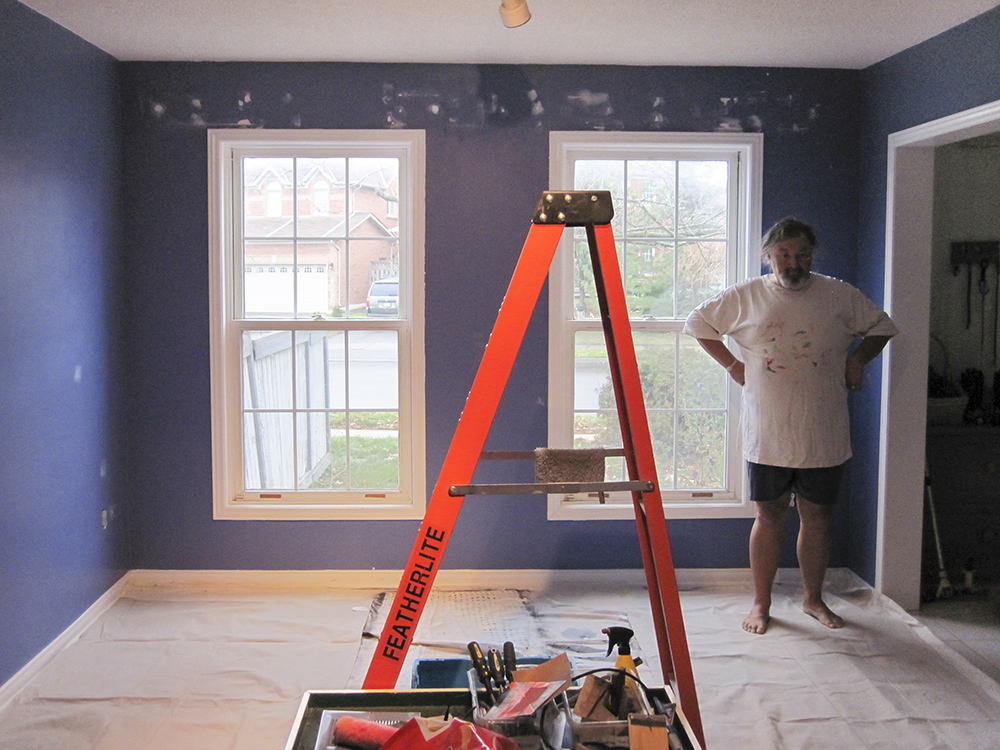
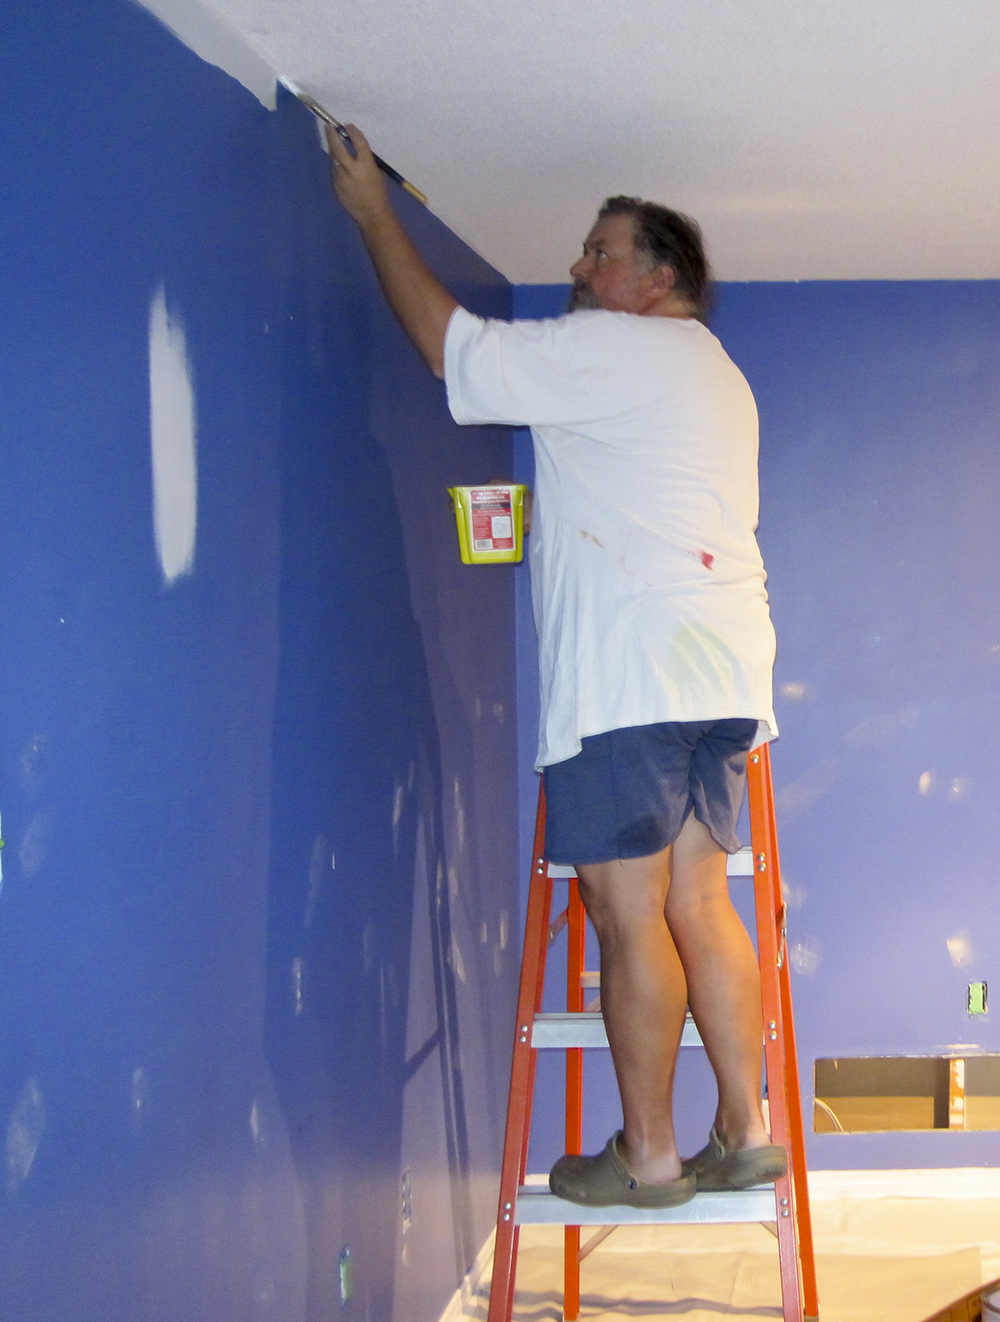
Here is Michael ready to paint after the wall repairs have been made, the walls sanded and washed and the drop cloths placed.

IMG_0705edit

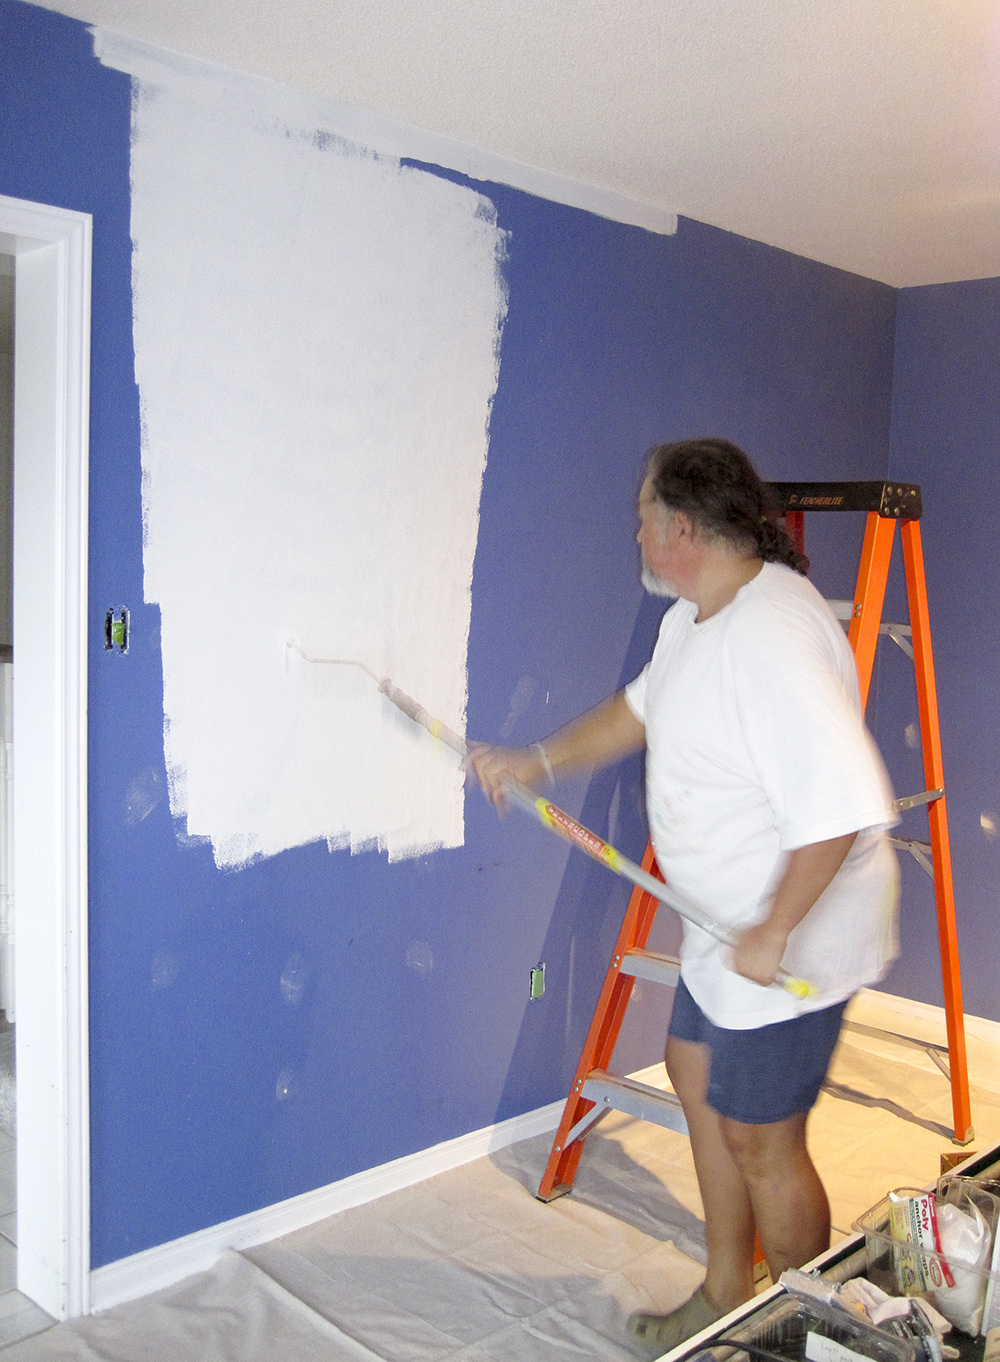
Michael cut in the first few feet and then showed me how to roll.  He has always done the rolling in the past while I played the support role.

IMG_0706editIMG_0707edit

I only got a few feet done, not really honing my skill yet, when Megan appeared and wanted to help.  Alun painted about 48 square inches before becoming bored and disappearing back into his room.

IMG_0709edit

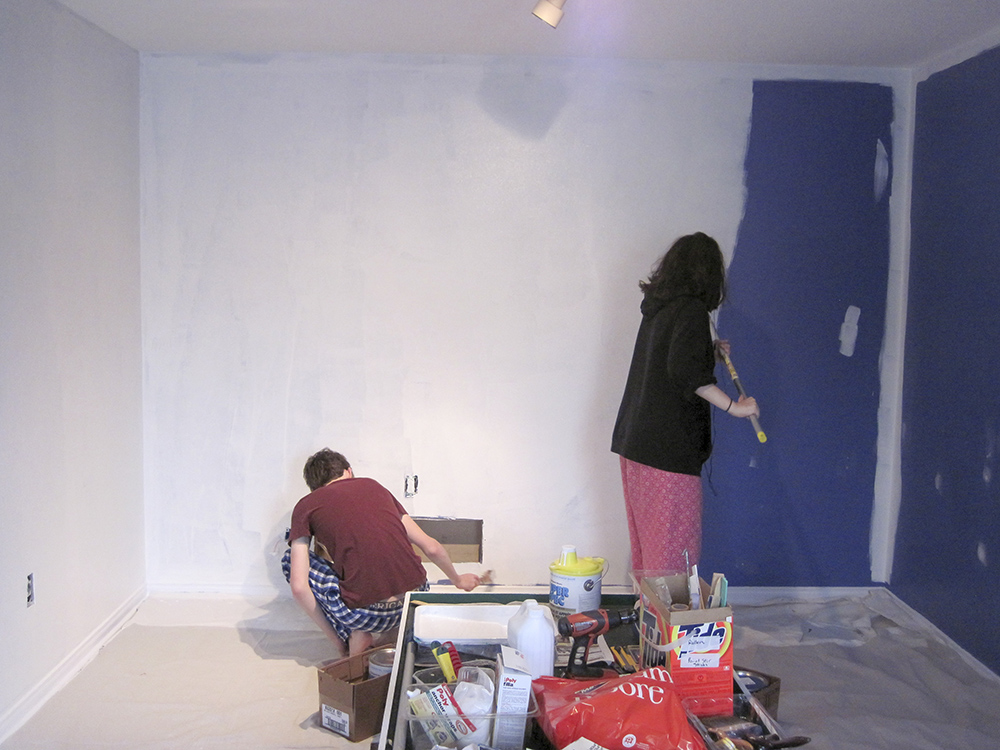
When Megan got bored after two walls I took over.  By the end of the first coat of primer the walls looked pretty bad.  Three different people rolling with different techniques and skills levels, with the dark blue still showing through, more in some places than others.  However, I felt I had improved my skill quite a bit by the time I finished.

IMG_0711edit

Michael, Owen and I went for a walk.  It was a relatively warm afternoon at ten degrees.  We stopped for a coffee at Davide’s Bakery, a local Italian bakery, which, I am pleased to say, is doing well.  Most of the restaurants in our area are Indian or fast food.

Once we returned the walls were dry enough to do a second coat.  It was getting dark by the time we finished and we were casting shadows, so it is hard to tell for sure, but I think we got pretty good coverage on our second coat.  We will wait and view it in the light before decided whether to buy more primer for a third coat or to move on to the tinted paint next.  We want to make sure we don’t have to do a third coat of the tinted paint as it costs $61 per can versus $25 for the primer.

IMG_0714edit

Michael made us a great stuffed pork roast with crackling and all the trimmings for dinner.


Friday November 21 – I’m Green

Today I received my prizes for being Brampton’s Greenest Resident and I have the certificate to prove it.  As the Brampton resident to submit the most actions in the Let Your Green Show contest run by the Region of Peel last summer I earned the title.

IMG_0702edit

The prize is a family season pass to the Toronto Region Conservation Authority (TRCA) parks and the Credit Valley Conservation Authority parks (CVCA).

The TRCA parks include Albion Hills, Boyd, Bruce’s Mill, Glen Haffy, Heart Lake, and Petticoat Creek, as well as Black Creek Pioneer Village and Kortright Centre.  I have been to half of these parks.  This will give me the incentive to try the others.

The CVCA parks include Terra Cotta, Island Lake, Belfountain, Ken Whillans, Elora Cataract Trailway, Limehouse, Meadowvale, Rattray Marsh, Silver Creek and Upper Credit.  I have been to all but two of these parks.  I will have to revisit my favourites and get out to the two I have never visited.

When I had my wrist in a cast last winter I discovered that at Island Lake Conservation Area in Orangeville they clear a long circular path on the lake for skaters.  I had planned to visit this winter.  Now I won’t have to pay.

Brampton’s Christmas Market

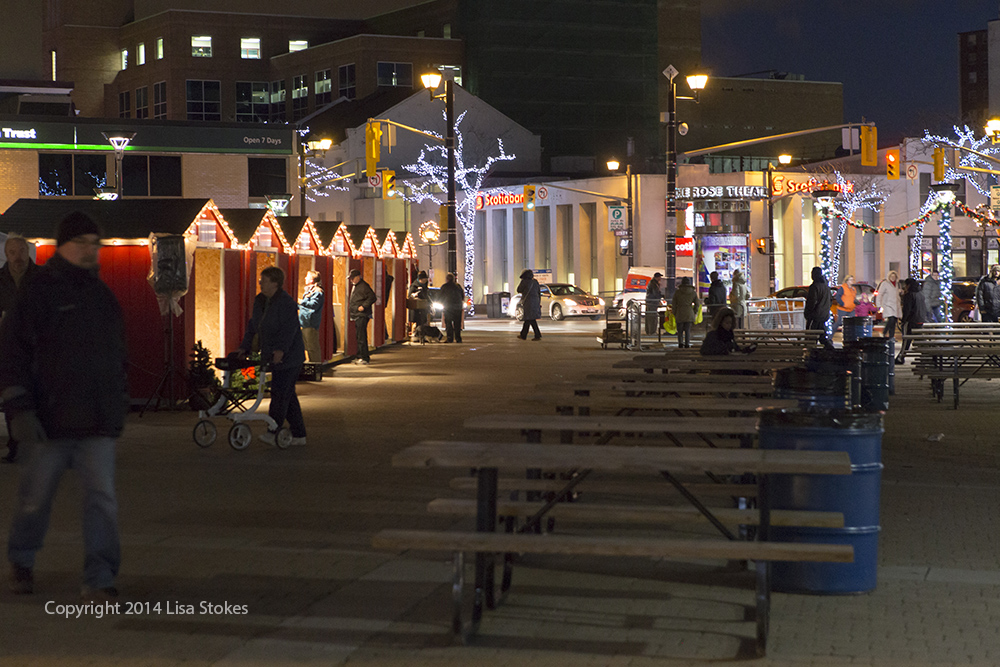
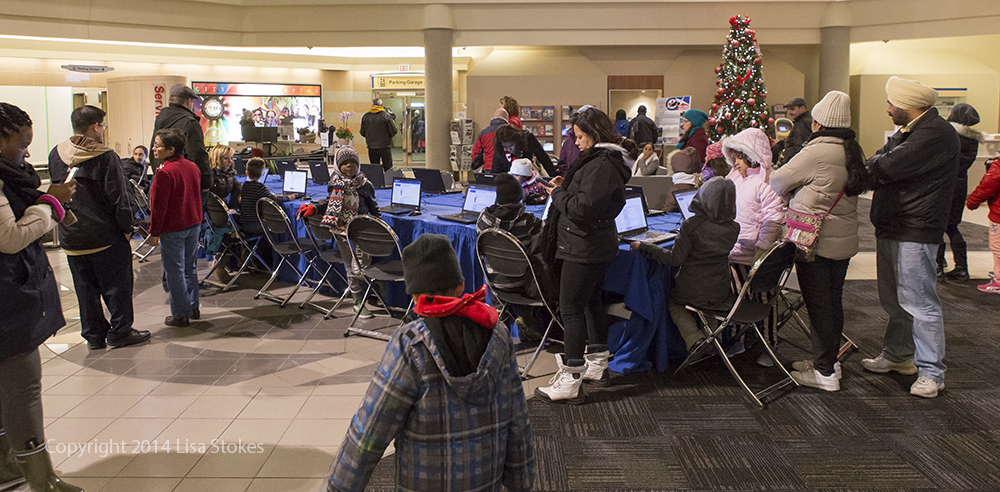
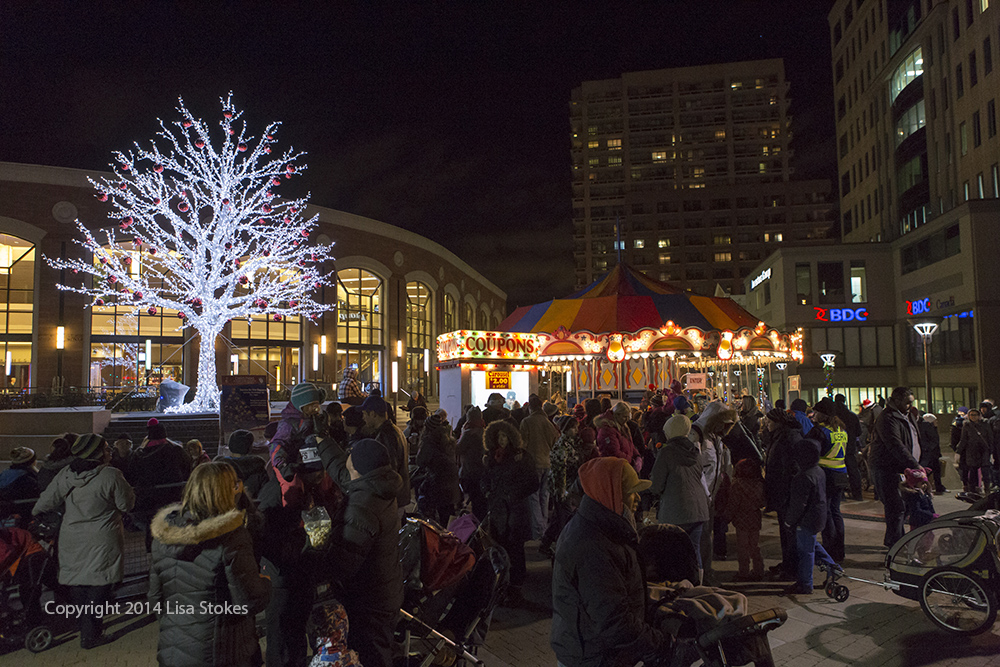
Last night Brampton’s third annual outdoor Christmas market began.  Michael, Trystan and I attended this evening.  It is not to often that we spend time with just Trystan on his own.   It was the first time we have been to the Christmas market.  When we arrived about 5:45 there were very few people around.

IMG_8305edit blog

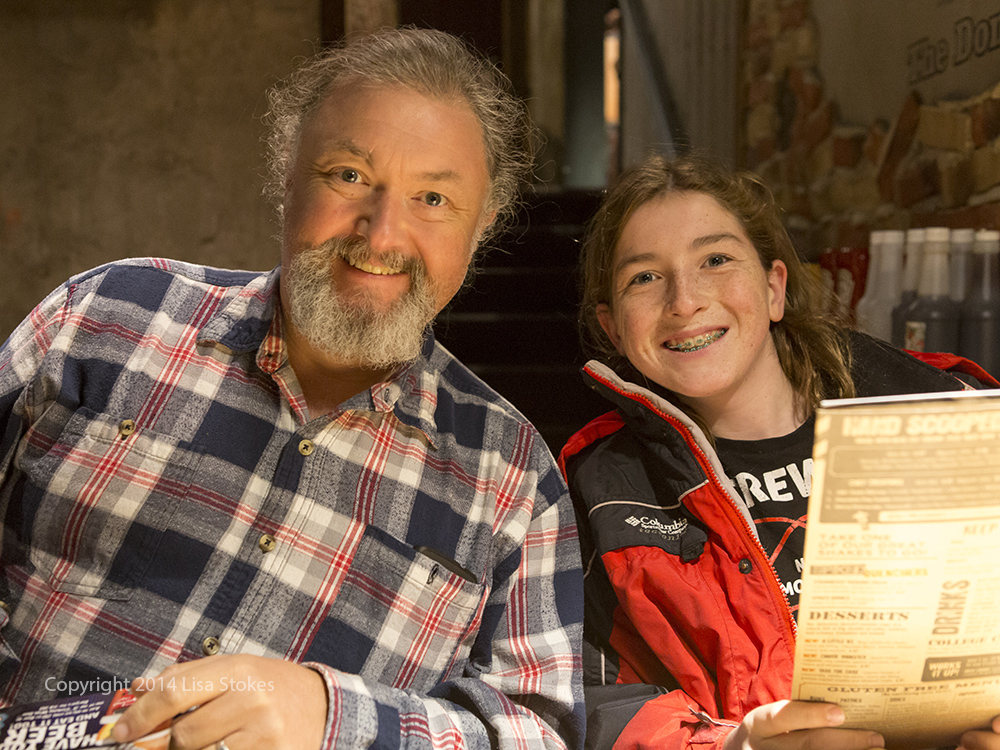
We headed to The Works, a burger restaurant, in the old Dominion building at Four Corners for dinner.  They had so many options – I think the waitress said there were 45 toppings – it was hard to choose.  Michael had an elk burger, while Trystan and I stuck with the traditional beef.  We started with a tower of onion rings.

IMG_8315edit blog

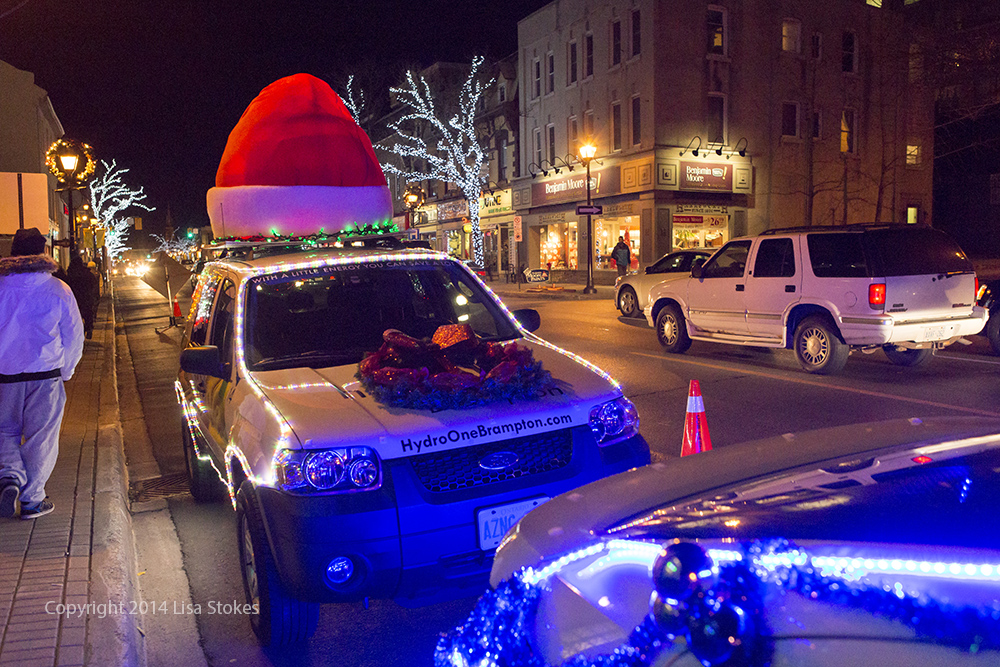
By the time we left the restaurant there was a line-up to get in and the square outside The Rose had become crowded.  We headed over to City Hall to check out Ken Whillans Square where the Christmas lights had been turned on this afternoon and Gage Park to see what else was going on.  We found this Brampton Hydro truck dressed for Christmas in front of City Hall.

IMG_8320edit blog

City Hall was open for warming up or to send Santa an e-mail.

IMG_8322edit blog

There was a musical performance from the movie Frozen which drew a large crowd.

IMG_8323edit blog

A long line formed for the polar bear inflatable slide.

IMG_8326edit blog

The lights were beautiful.

IMG_8328edit blog

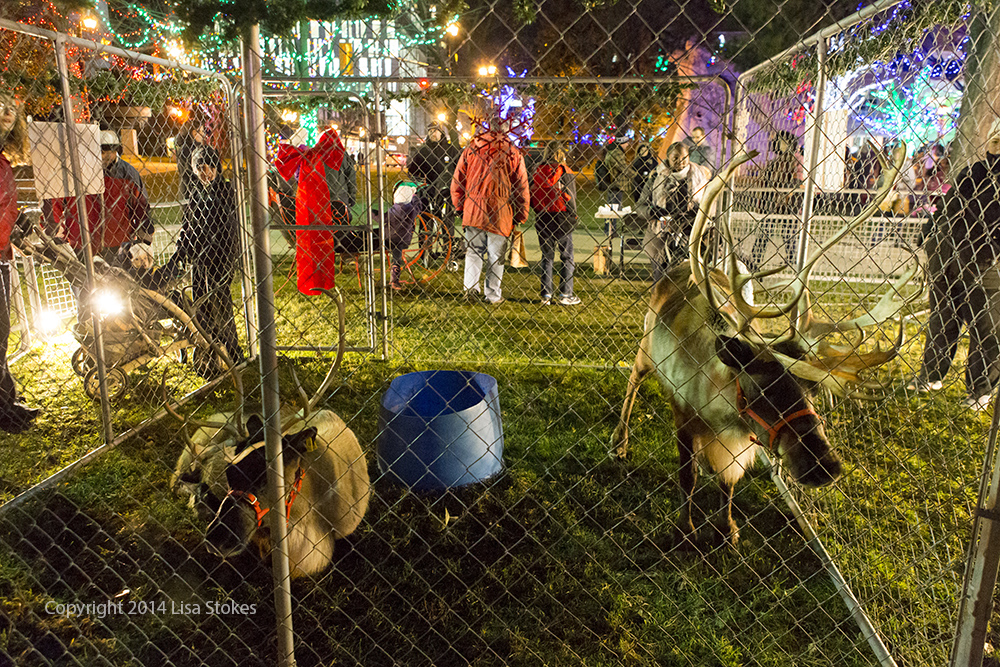
Santa’s reindeer were visiting.

IMG_8333edit blog

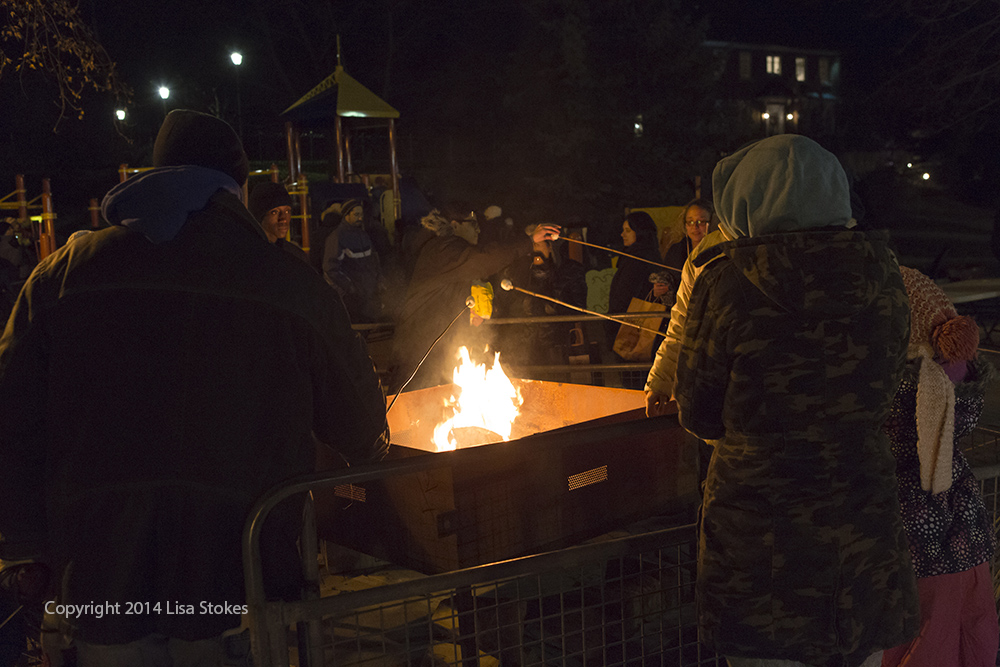
There were marshmallow roasting stations.

IMG_8337edit blog

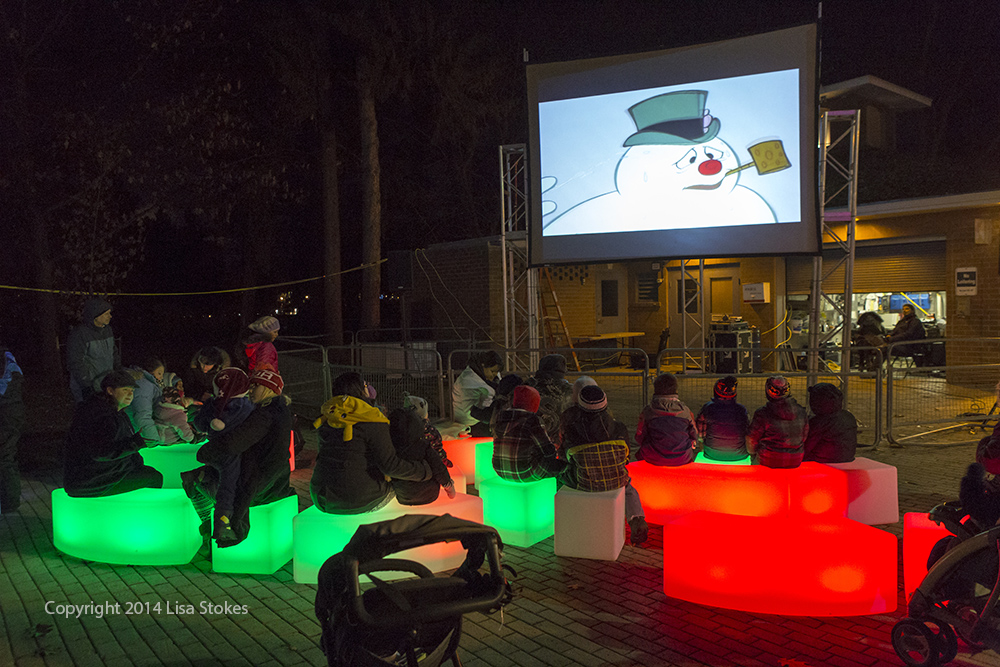
You could sit and watch Christmas shows on glowing chairs.

IMG_8339edit blog

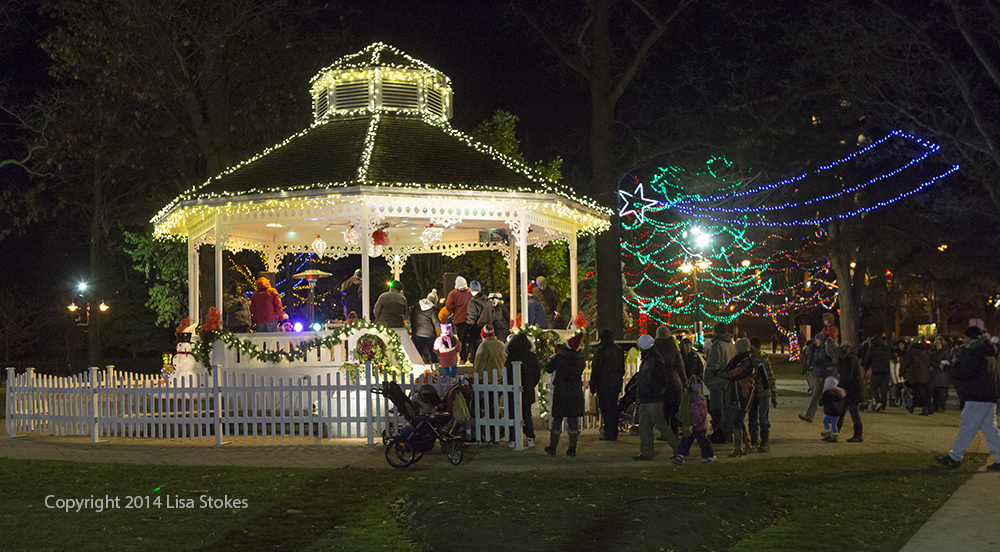
There was dancing in the gazebo.

IMG_8342edit blog

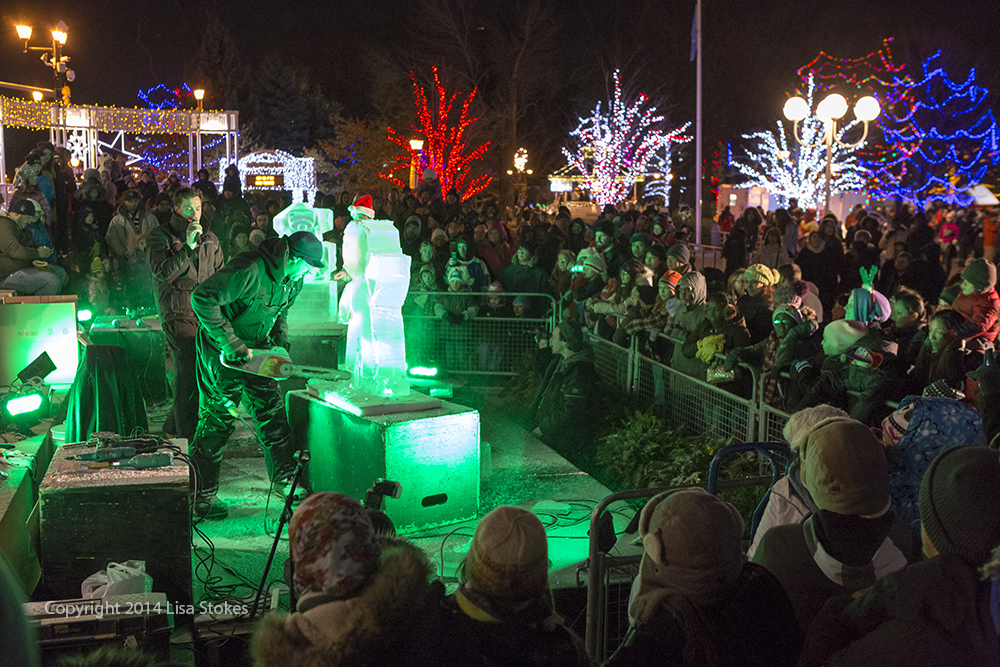
The ice carving was fast and impressive.

IMG_8349edit blog

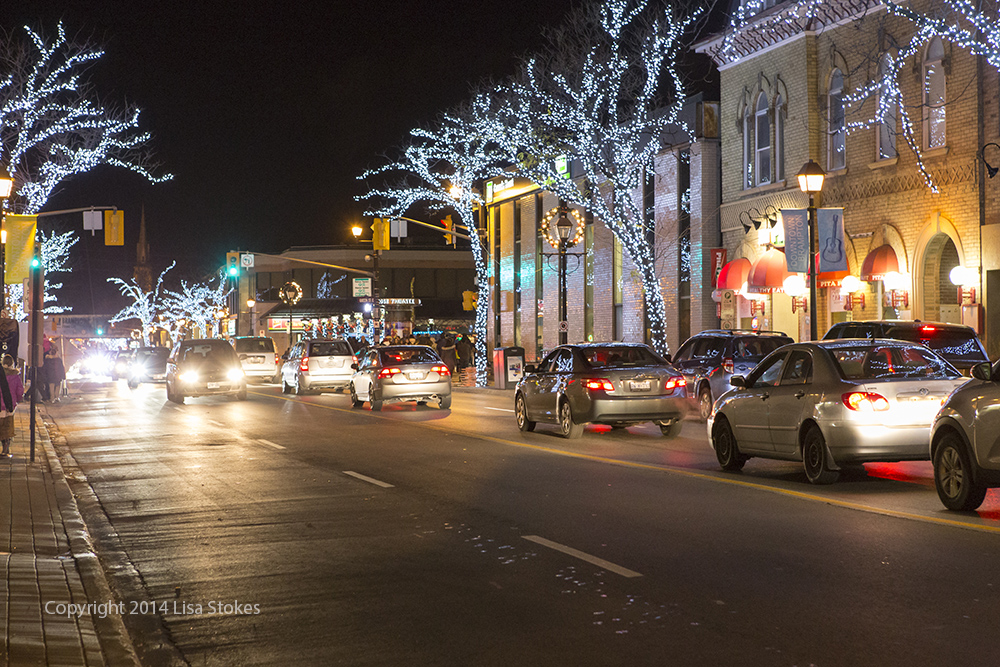
The trees along Main and Queen are all lit up.

IMG_8353edit blog

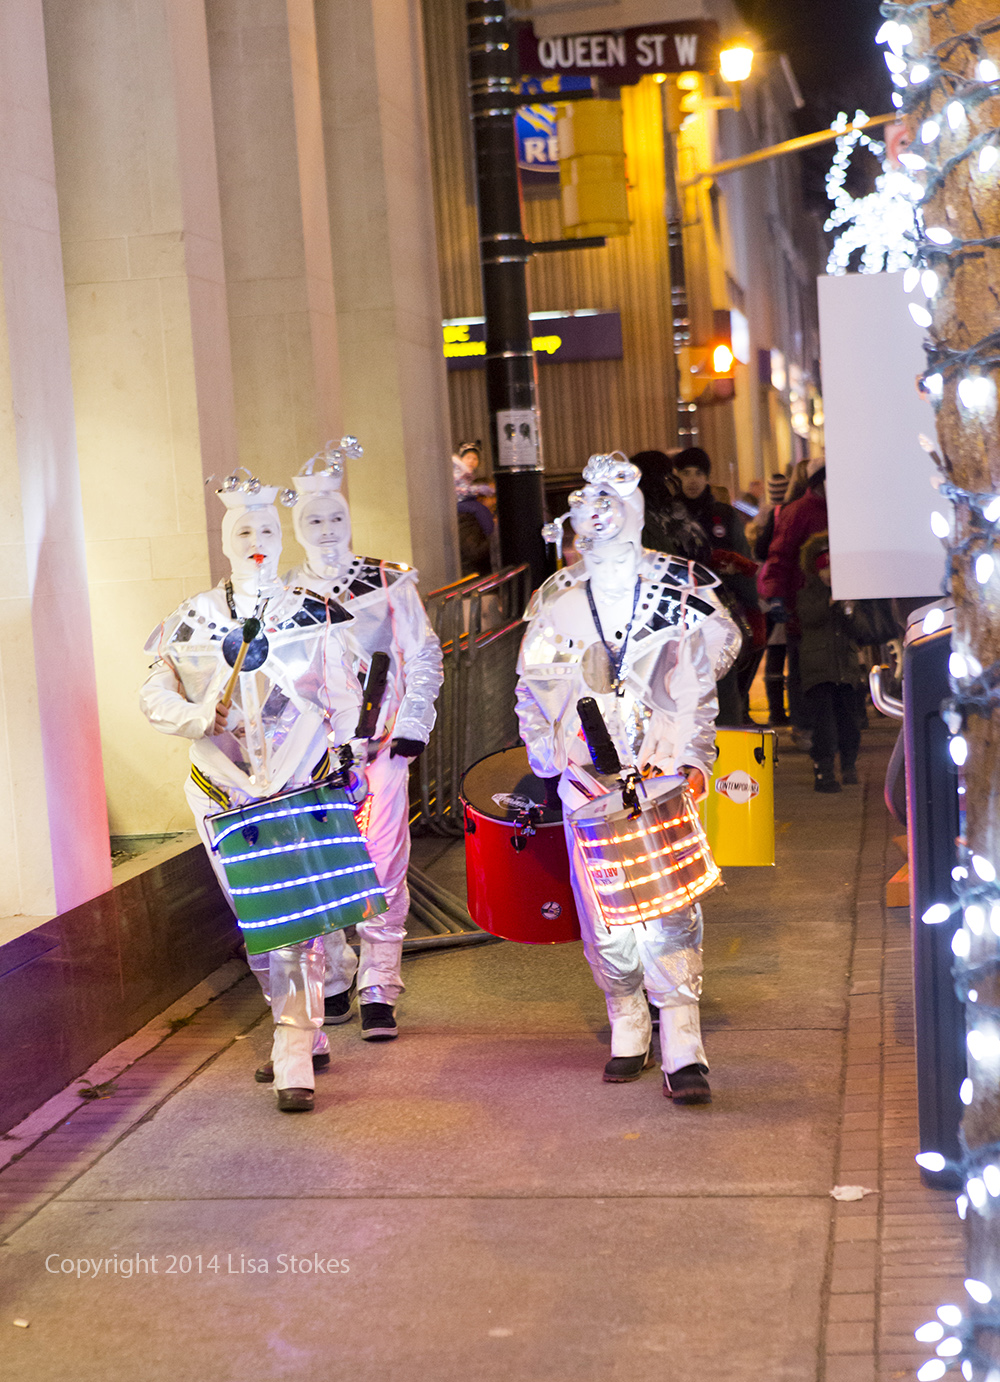
This drumming band was marching around downtown entertaining the crowds.

IMG_8354edit blog

There was a long line for the carousel.

IMG_8362edit blog

Michael waiting for freshly cooked tiny donuts.

IMG_8366edit blog

Today Daniel, of T By Daniel, was dressed as Santa.  We have seen him at the Farmers’ Market dressed as Elvis and dressed head to toe in a royal blue suit.  He makes a great chai tea.

IMG_8368edit blog

It was great to see the crowds downtown on a cold November evening.  Great job Brampton Downtown Development Corporation and City of Brampton.


Tuesday November 5 – Bike Assist

Michael is away planning his mother’s funeral, preparing her house for sale and wrapping up her affairs.  The kids are at school and it is a cool, but bright, November Day – a good day for a ride.  I read about the Pan Am Path last summer.  The path, when completed next summer, will stretch from the Claireville Conservation Area in the northwest to Pickering.  It will be over 80 kilometres long.  Most of the multi-use trails already exist, but the missing links will be constructed to create a path over 80 kilometres long.  I decided to explore the northwest portion today.

IMG_0658edit blog

I drove to the Toronto Public Library on Humberwood Boulevard – about 15 minutes from my house where I parked just a minute ride away from a trail entrance.  I rode a kilometre north first to the beginning of the trail  before heading back south and east.  The trail follows the Humber River and passes the Humber Arboretum, Humber College and a William Osler Health Centre.  I rode about 10 kilometres before I came to a road.

Under one of the bridges is a colourful mural.

IMG_0670edit blog

There were still some colourful leaves on some of the trees.

IMG_0664edit blog

The signage is very good.  The trails are numbered and distances to roads are given.

IMG_0681edit blog

When I saw the road I thought I had made a wrong turn so turned back.  However, I still wasn’t certain where to go so I stopped, removed the bungee cord holding my trunk bag on my rack and pulled out my iPad to consult Google maps.  Once I figured out where to go, I replace the iPad, zipped up the bag and was on my way.  I quickly came to a sudden stop.  My inattentiveness and desire to be on my way led to me cycling off with the bungee cord hanging loosely.  It wrapped around the rear cassette.  Fortunately, I have gotten much better at un-clipping my shoes from the pedals and I didn’t fall.

I was able to pull part of the bungee cord out, but the hook was wedged in too tightly between two gears for me to pull it out with my fingers.

IMG_0686edit blog

Fortunately, I won a CAA membership with Bike Assist in the Let Your Green Show contest.  At the time I didn’t think it would be likely to be of use to me (our van is just three years old) , however, it was very useful today.  I called CAA, told them where I was and half an hour later (just as I was starting to get quite cold) a huge CAA truck pulled up.

IMG_0689edit blog

I explained what had happened and asked for pliers.  The driver tried to pull the bungee cord out but soon realized a tool would be needed.  He pried the hook out with a screwdriver, then I tried out the bike and there was no damage so I was soon on my way.

IMG_0688edit blog

I rode a couple kilometres further south, however, I needed to be home by the time Owen arrived from school for lunch so I turned around at Weston Road and headed home.

IMG_0693edit blog

I hope to return soon to explore more of the trail.  It was sparsely used, which is a shame, because it is a treasure.  Once all the links are complete I hope to ride it end to end.

IMG_0694edit blog